Overview
There are many possibilities for electrical in these vans ranging from just tapping into the exiting 12v van battery to having a completely separate, solar charged system. Requirements are determined by the type of camping you might be doing.
For us, we do not expect to be spending weeks at a time off the grid so things such as a solar array or a generator did not make sense. Some of our camping will be at sites that we can just plug in. But we are thinking we will spend a few days at a time off the grid so using the van battery could leave us stranded.
Our systems would need to support the following:
- 12 V loads
- 120V loads
- Ability to run for up to 3 days of the grid
- Recharge from van alternator or 120V
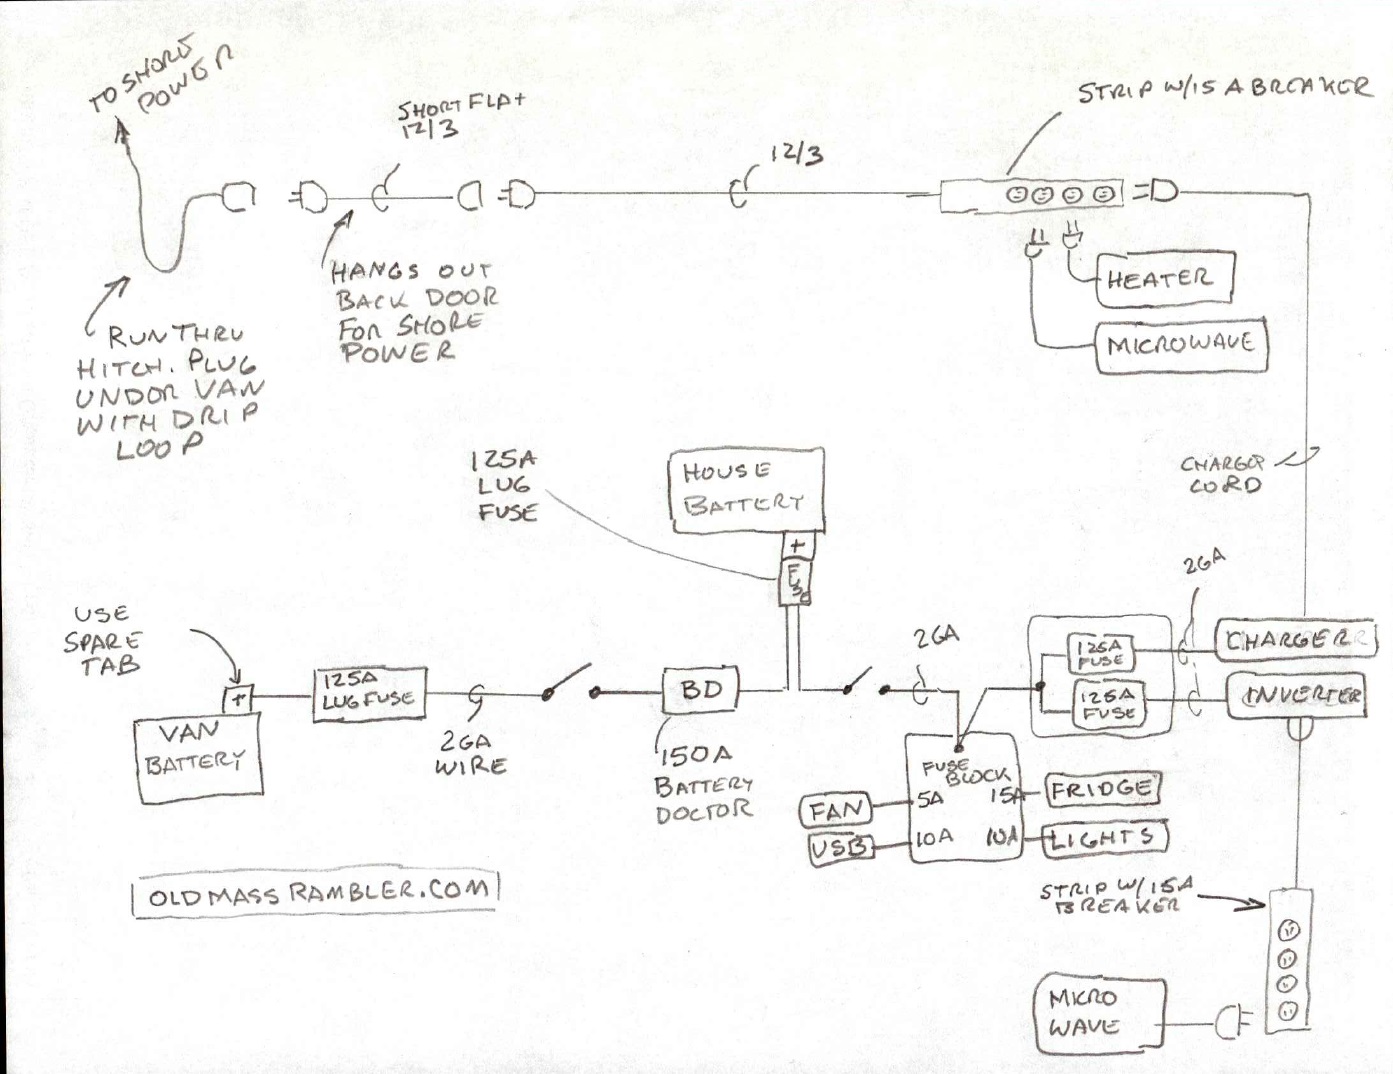
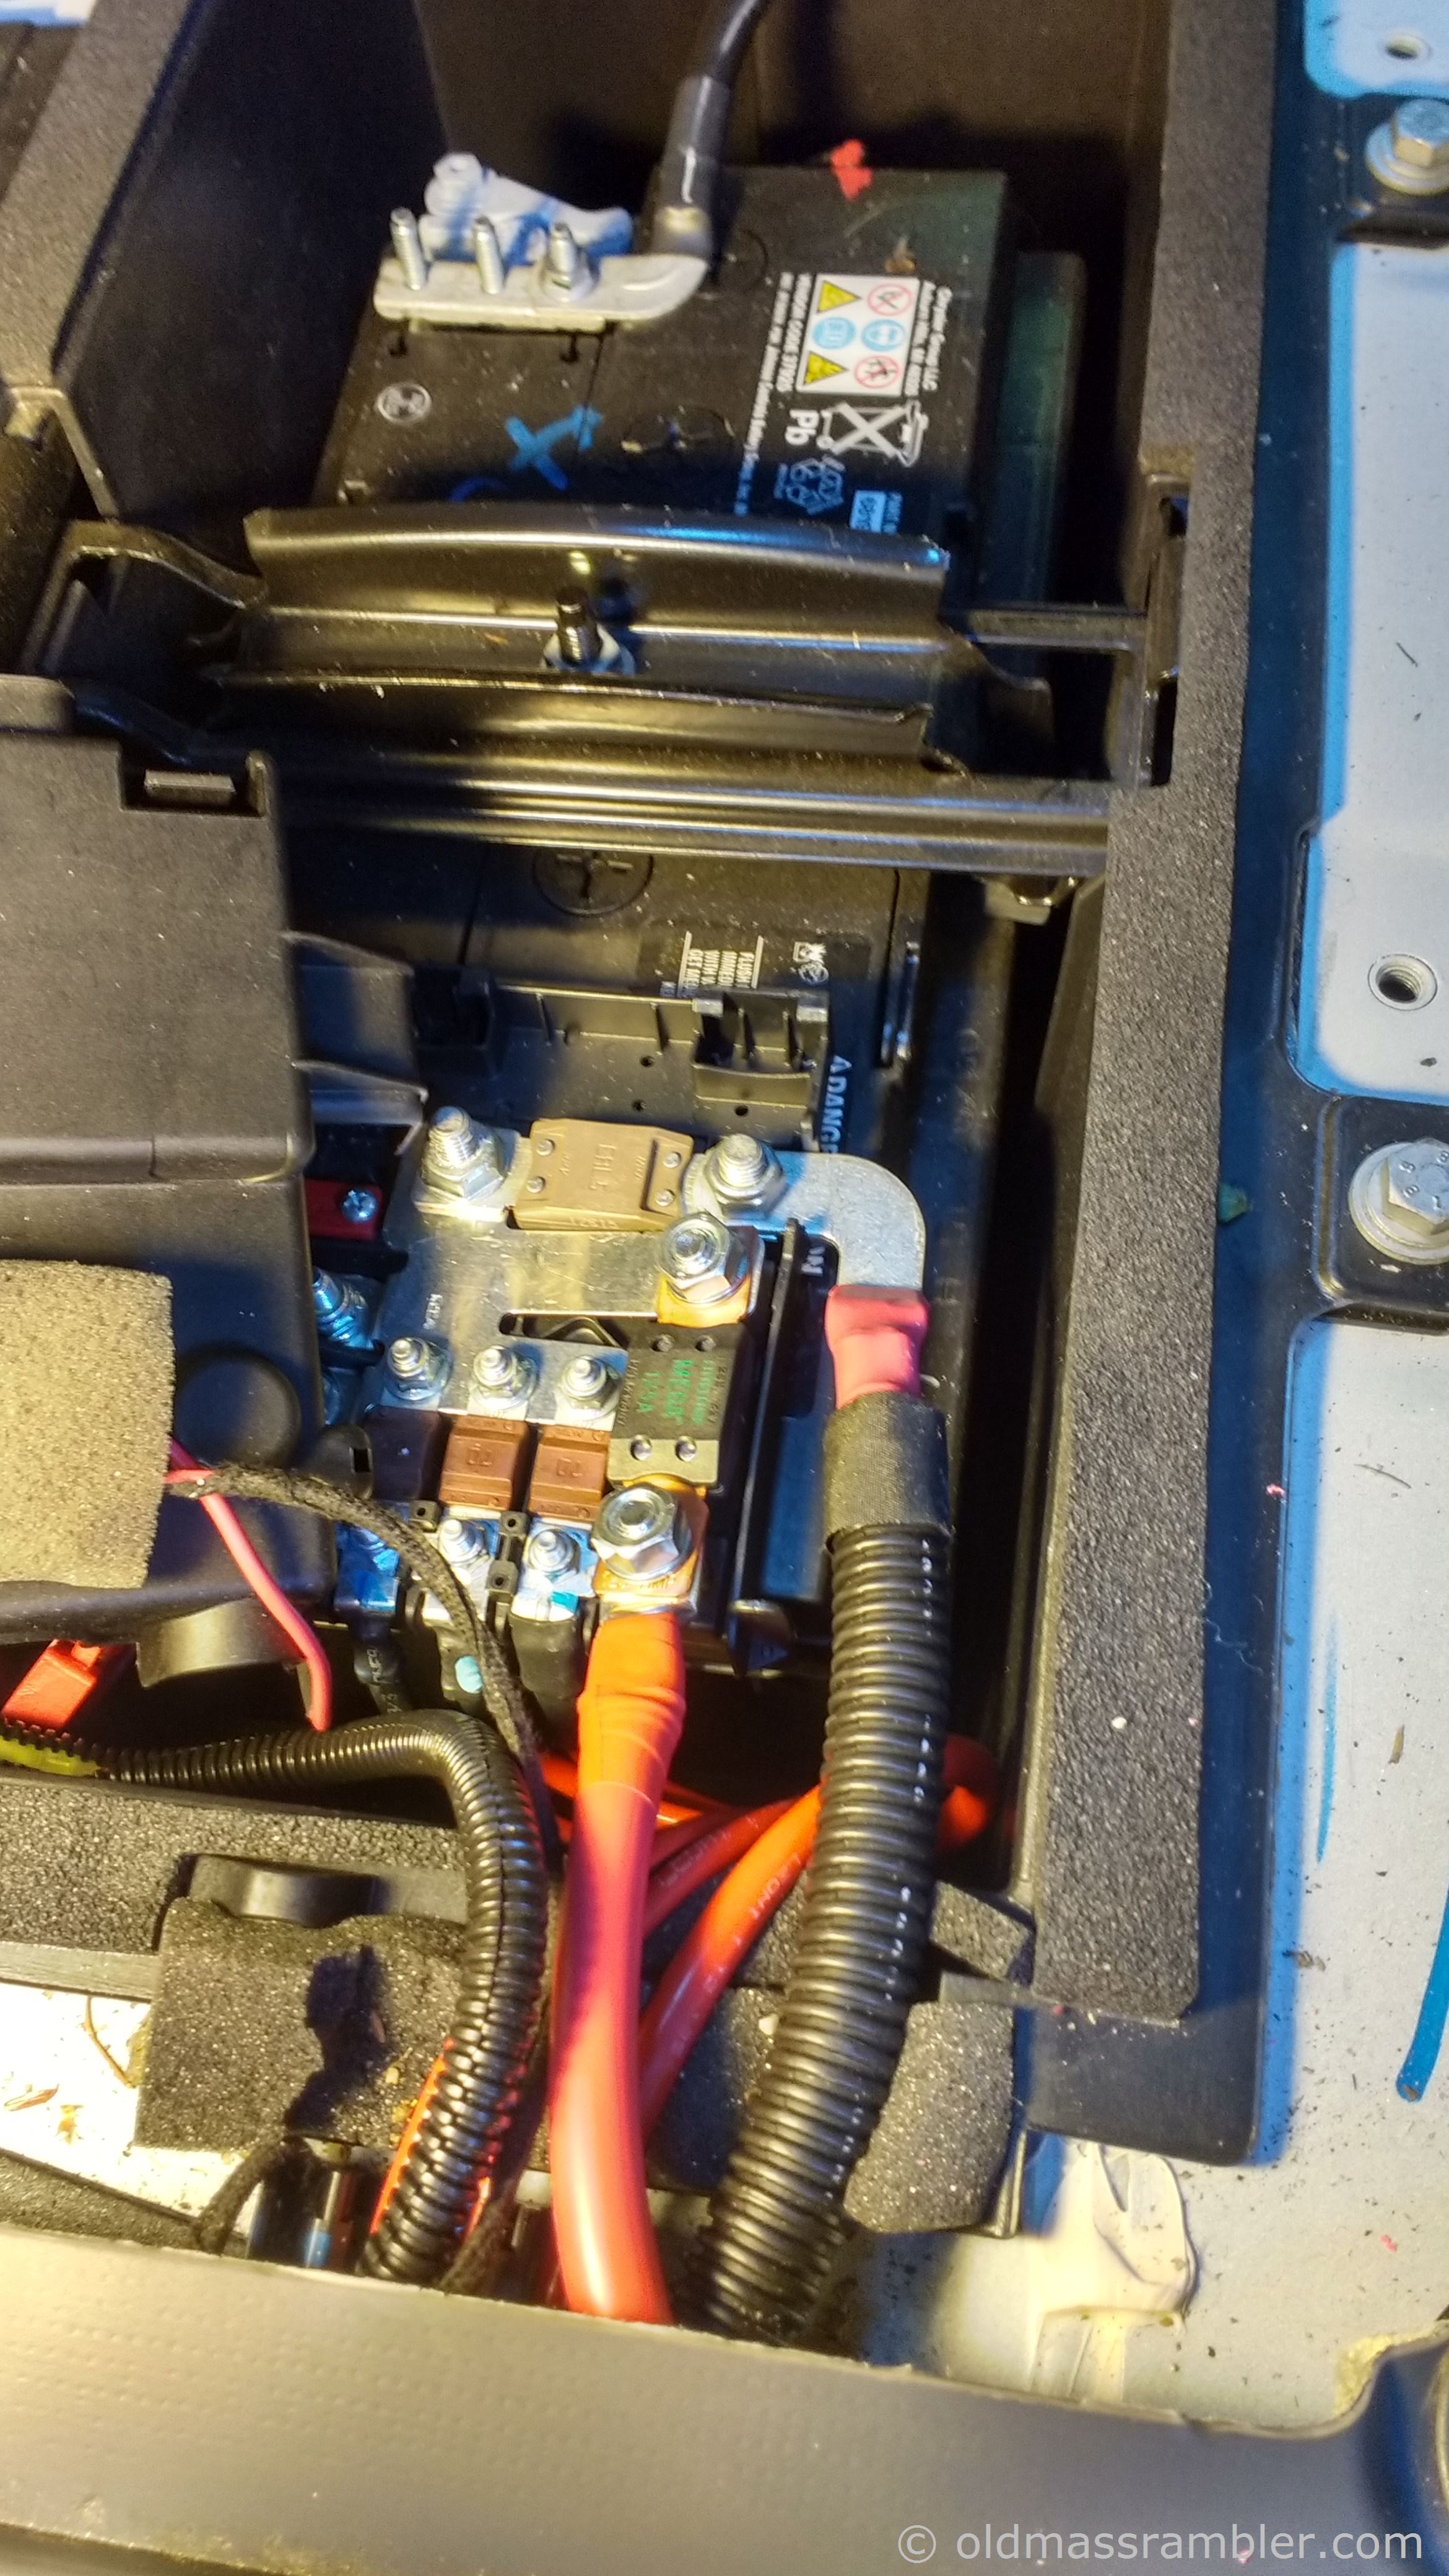
The diagram for the electrical is shown above. Diagram only shows the positive side on 12V. I had several 2 ga black wires to my grounding point which was the cargo tie down lug behind the drivers seat.
I opted for separate charger and inverter. There seemed to be several good combo units but they are large. I was also concerned with a failure taking both functions out at once. The inverter is a noisy, pure sine wave Samlex SSW-2000 and the battery charger is a quiet Cotek CX 1225.
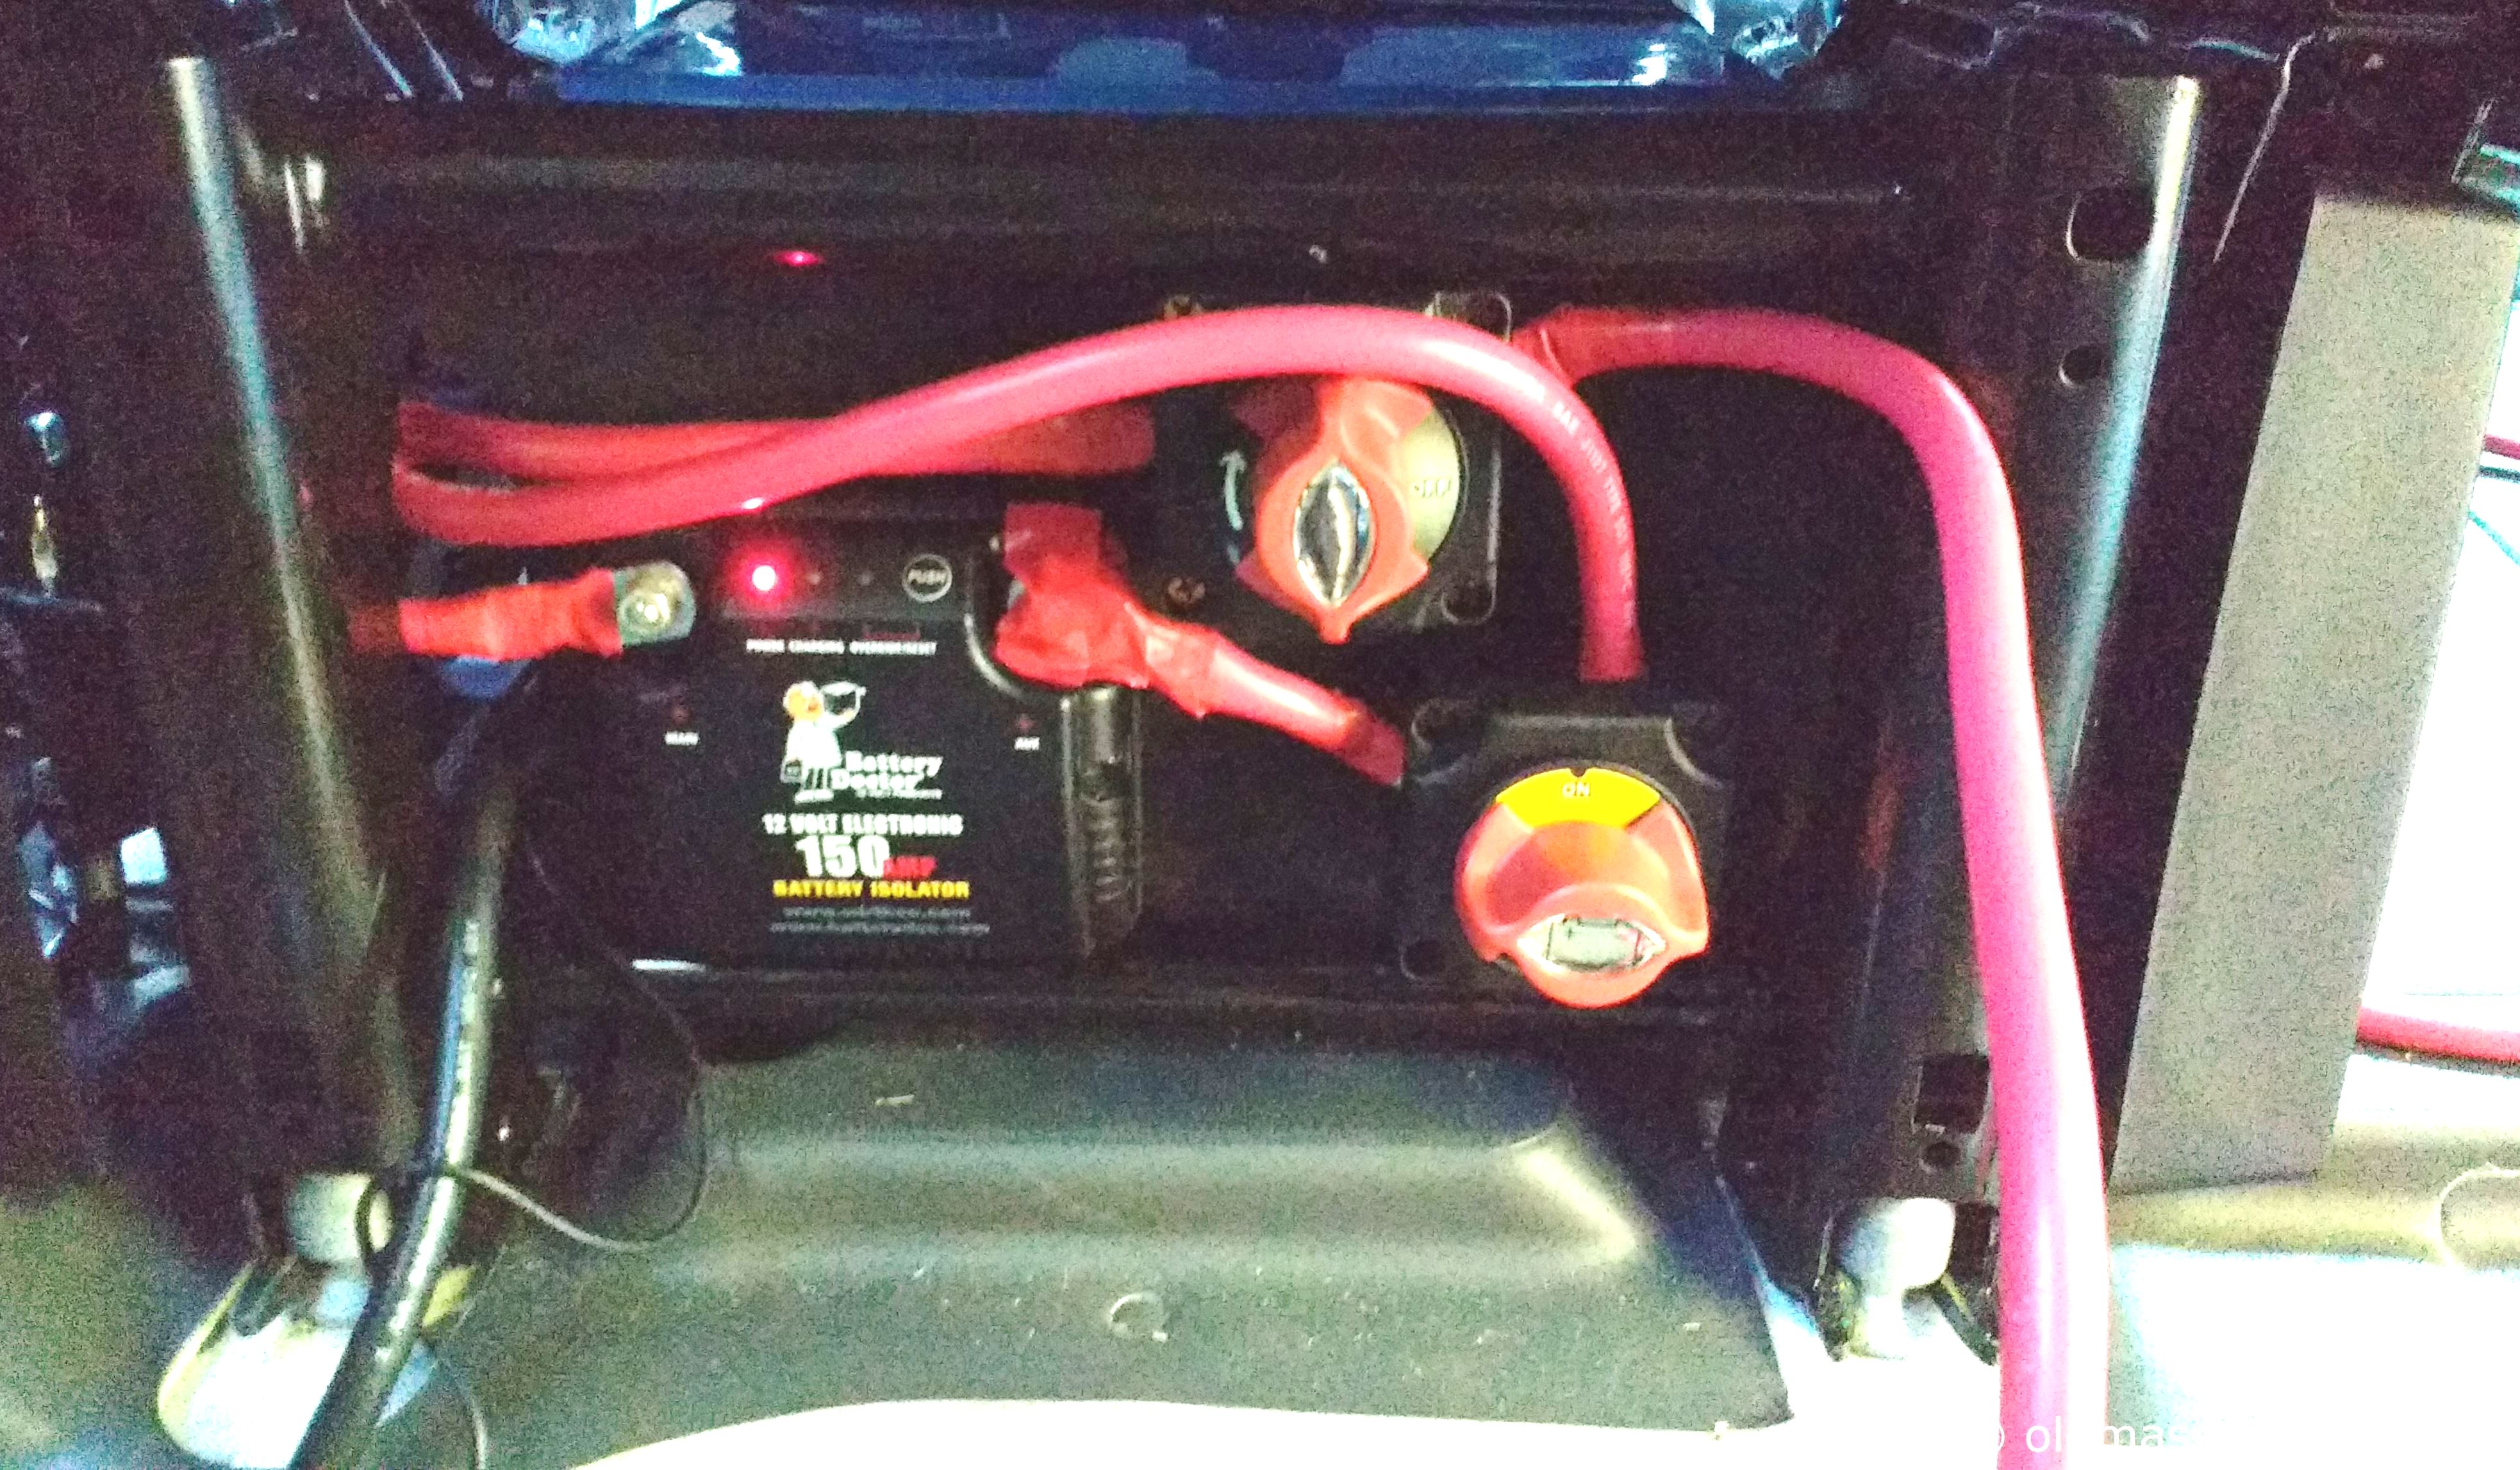
2 ga wire and a 150 amp Battery Doctor were selected so I could run my microwave while the van was running.
I like the lug fuses for protection because they took up little extra space. The fuses at the charger and inverter are mostly there because I had a fuse block that would split the line.
The main distribution fuse block is a #5025 Blue Sea 6 circuit with negative bus.
The microwave plugs in to one of two different power strips depending on if we have shore power or are using the inverter.
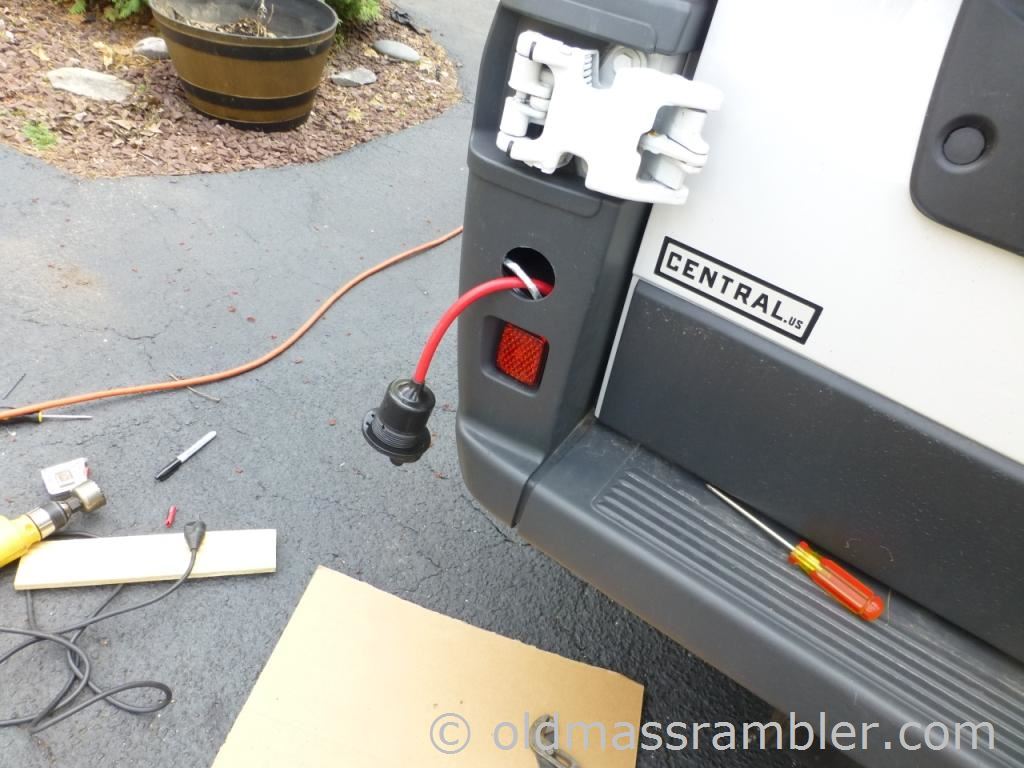
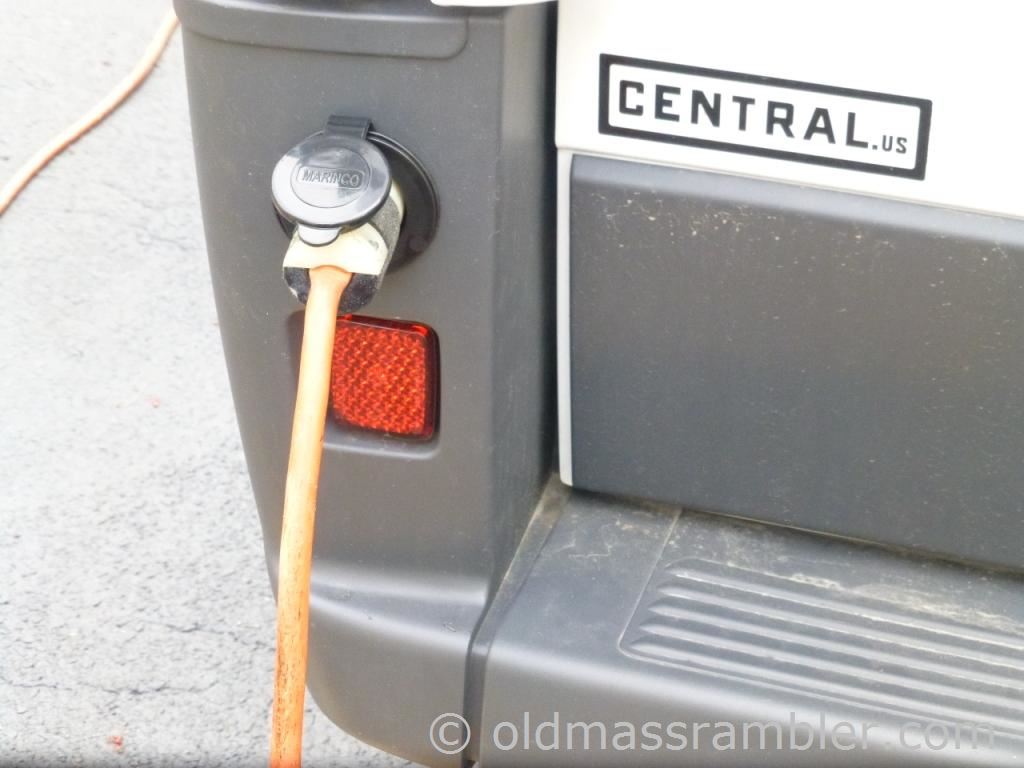
Initially we were just dropping a flat extension cord out the back door when shore power was available. I added an outlet in the bumper which you can see below.
The first place we camped did not have 110v outlets so I have one of these 30 amp adapters. I have a power strip with 15 amp breaker in it to protect the wires.

Battery
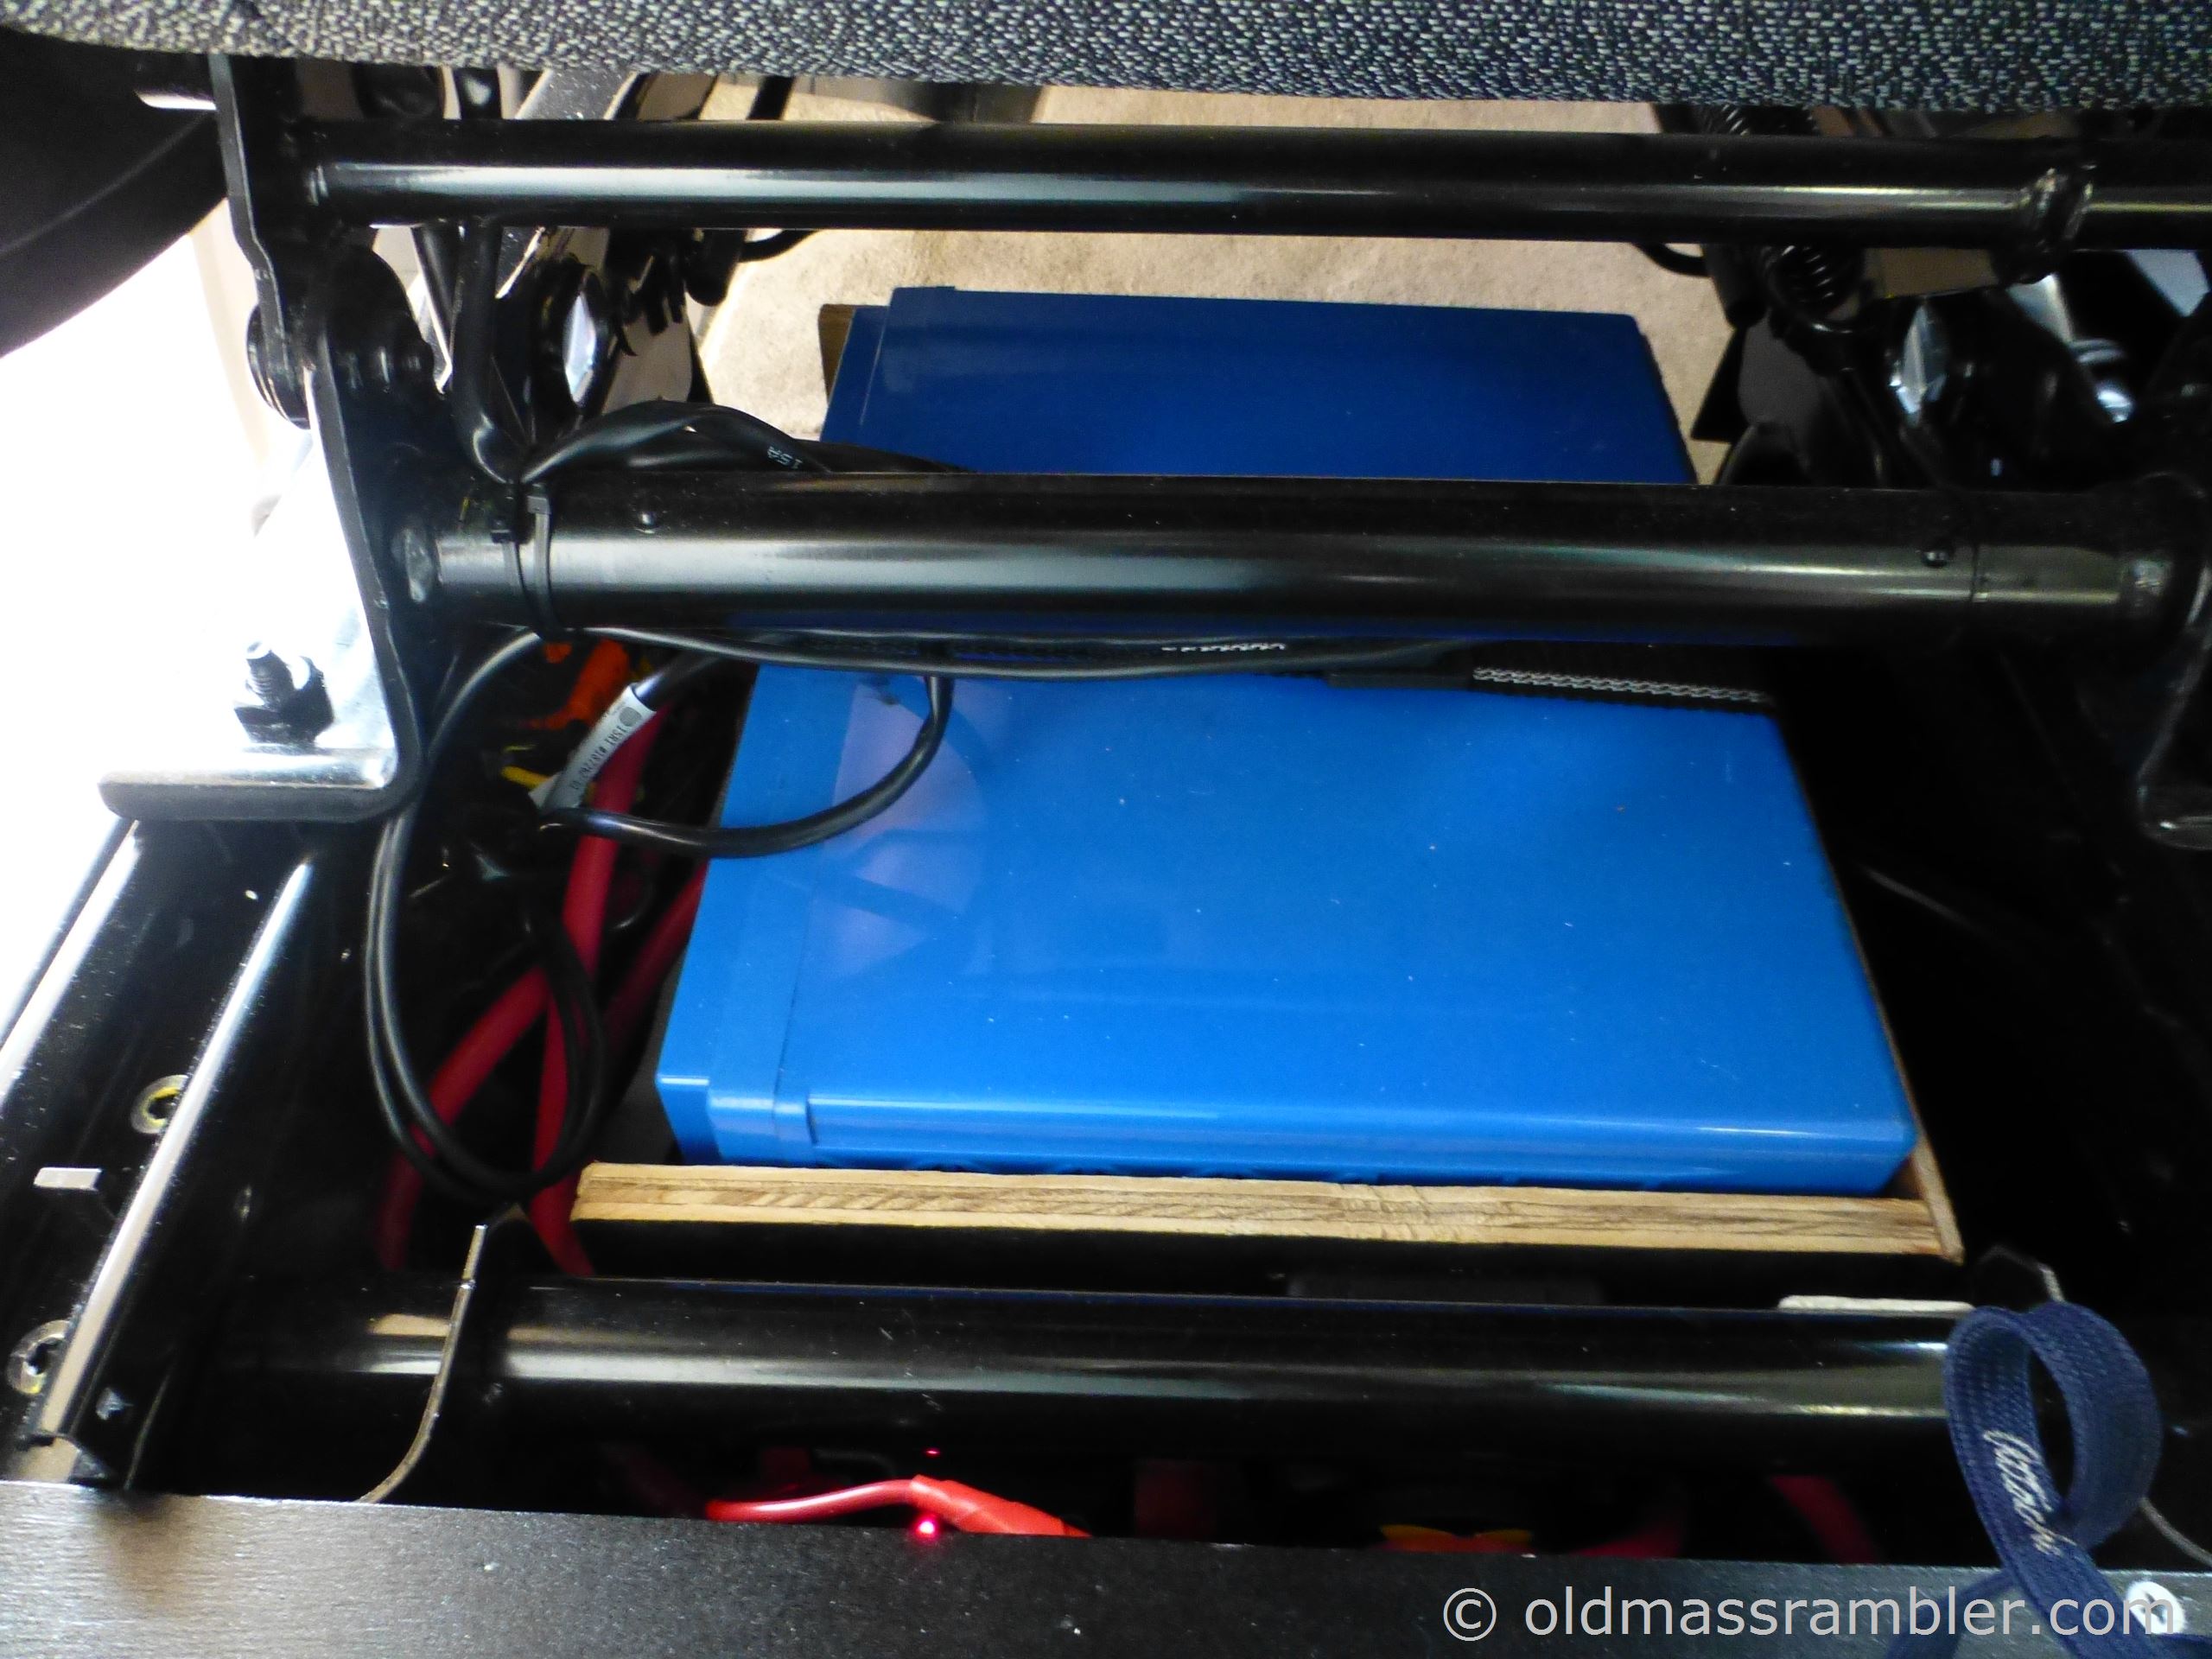
I opted for an AGM battery. I did not want to deal with liquid leakage or venting issues of regular lead acid batteries and the cost of a lithium battery was just too high. The AGMs could also be installed sideways.
For sizing the battery I needed to know how much load I had and how long I wanted it to run it. How long is 2 night, 3 days. This was based on staying overnight at Sage Creek in the Badlands for two nights.
As for the loads, I came up with a summary of my expected loads and an estimate of how much energy they would use (see above). I assumed that computer charging and microwave use will be restricted to times the engine is running or we have shore power. With 24 Ahr per day, we need 72 Ahr for 3 days. At 50% discharge of a deep cycle battery that's 144 Ahr minimum.
I looked at a number of AGM batteries and settled on a Full River DC150-12 that a local place had for $365.
From the battery's measurements I thought I could fit it under the drivers seat like shown by Slamit06 here. I could not find a box that would fit the battery and fit under the seat so I planned on making one that would slide in without taking the seat off. I made a cardboard box the size of my proposed battery box and it seemed to fit. I needed to cut off the thin rod that held the front of the under seat tray.
When I made a wooden box the same size it did not fit. I did not notice that my cardboard box was flexing just enough to allow it to slide under the seat. Once I took the top off the wooden box it would just fit in. I added plastic covers over the terminal since the box was no longer complete.
On the back of the battery box I located the Battery Doctor and the isolation switches. When the switches are off the external wire to the house loads has no voltage. When I disconnect the wire to the van battery that wire has no voltage. I can then slide the house battery tray out.
I will say that this is a very tight fit. If I were to do this again I am not sure that I would try to squeeze this size battery under the seat.
Wiring
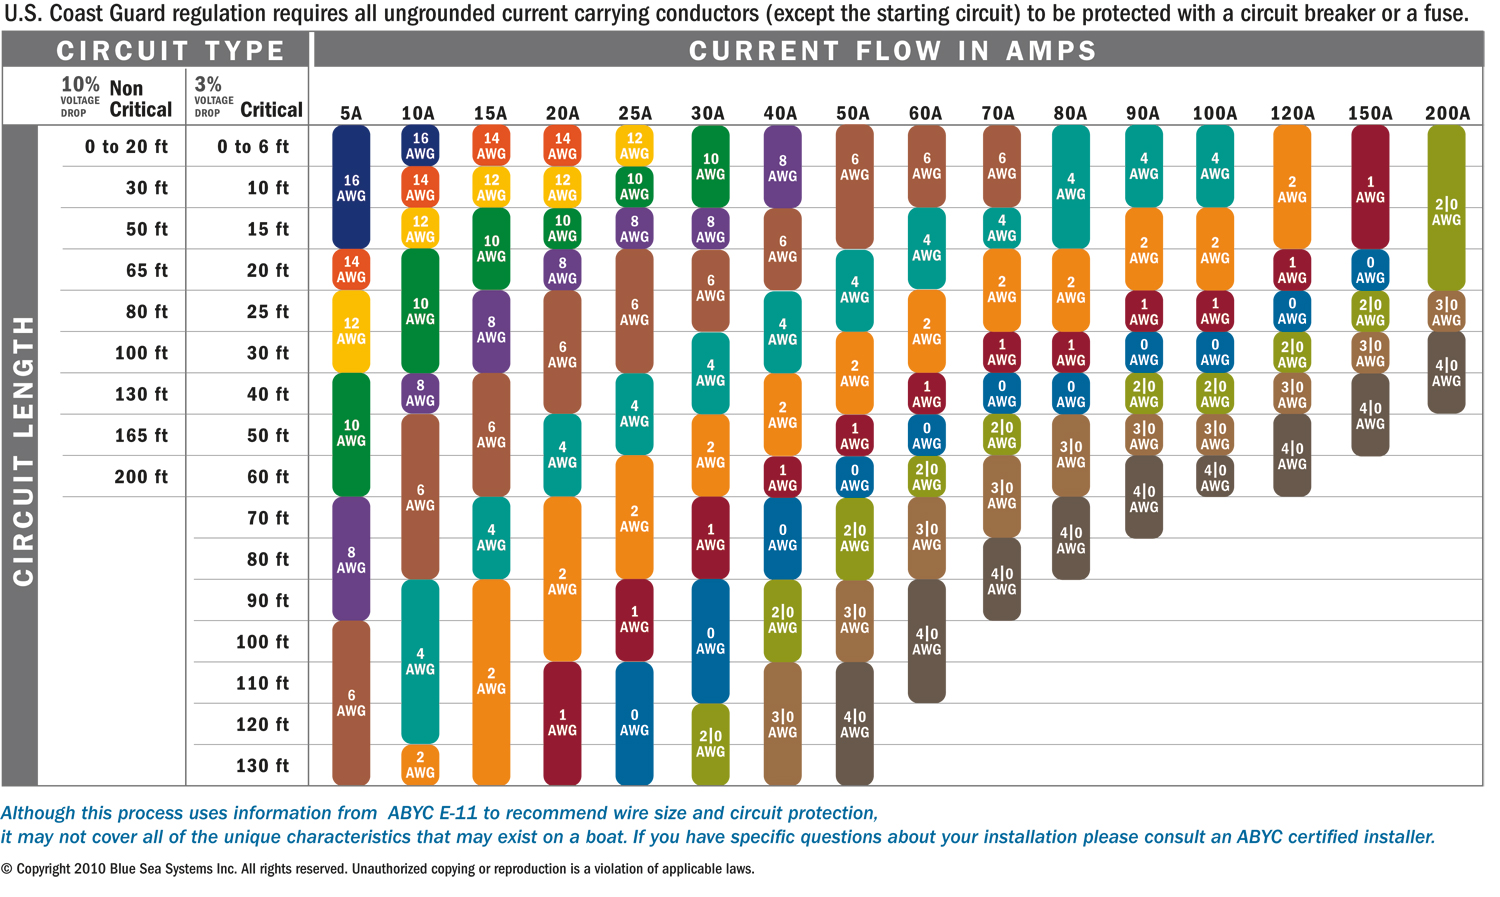
I sized wired using one of the many charts you can find on line. For the main power connections I used 2 ga. Power ports I used 12 ga and lights had 14 ga
For connections I used quick splice connectors that tap into a line. I had initially run wires thinking I was going to use wire nuts like I would in a house. These are not likely to stay one in a structure that has the vibration of a moving van. I had to rejoin the wires with a splice and then use the connectors.
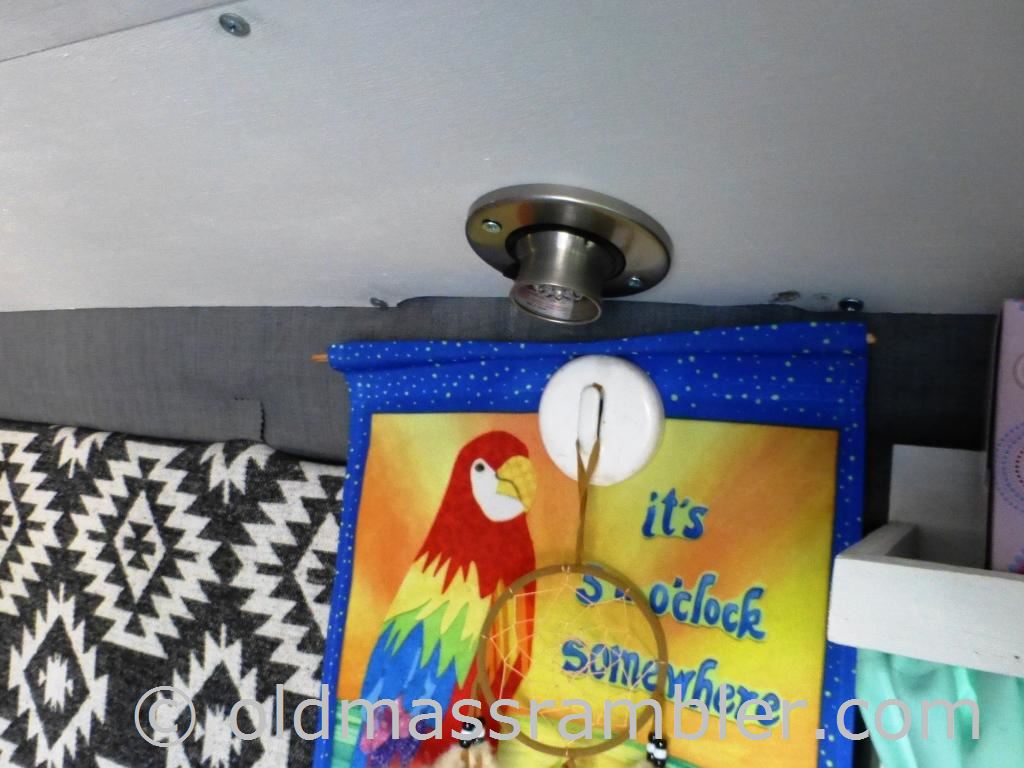
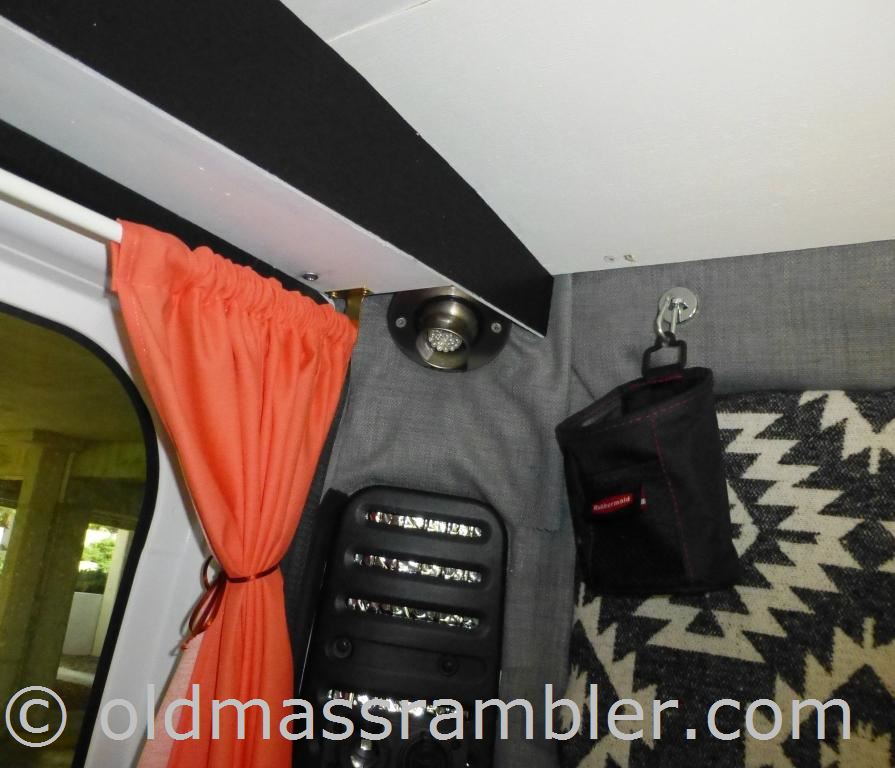
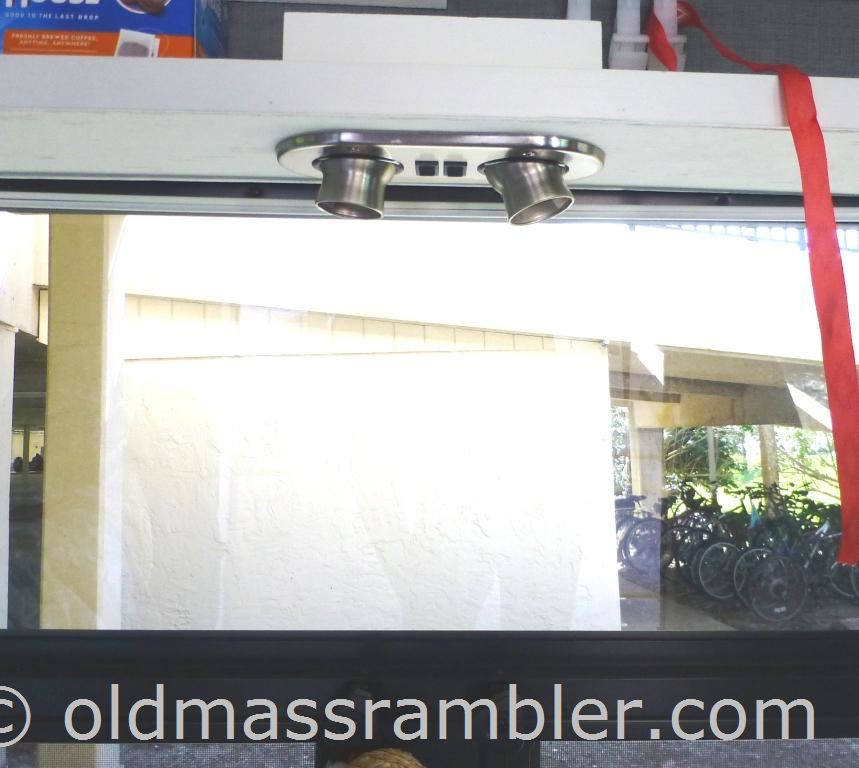
Lights
We looked at a number of different ones and settled on ones by Gustfason with integral switches. We used this double unit over our counter:
We placed one of these single units in each corner of our bed.
Replaced the incandescent bulbs with these LED ones that mount the same way as the incandescent but use much less power.
Note that these fixtures needed ample room behind them for the rotating portion of the fixture.
Inverter
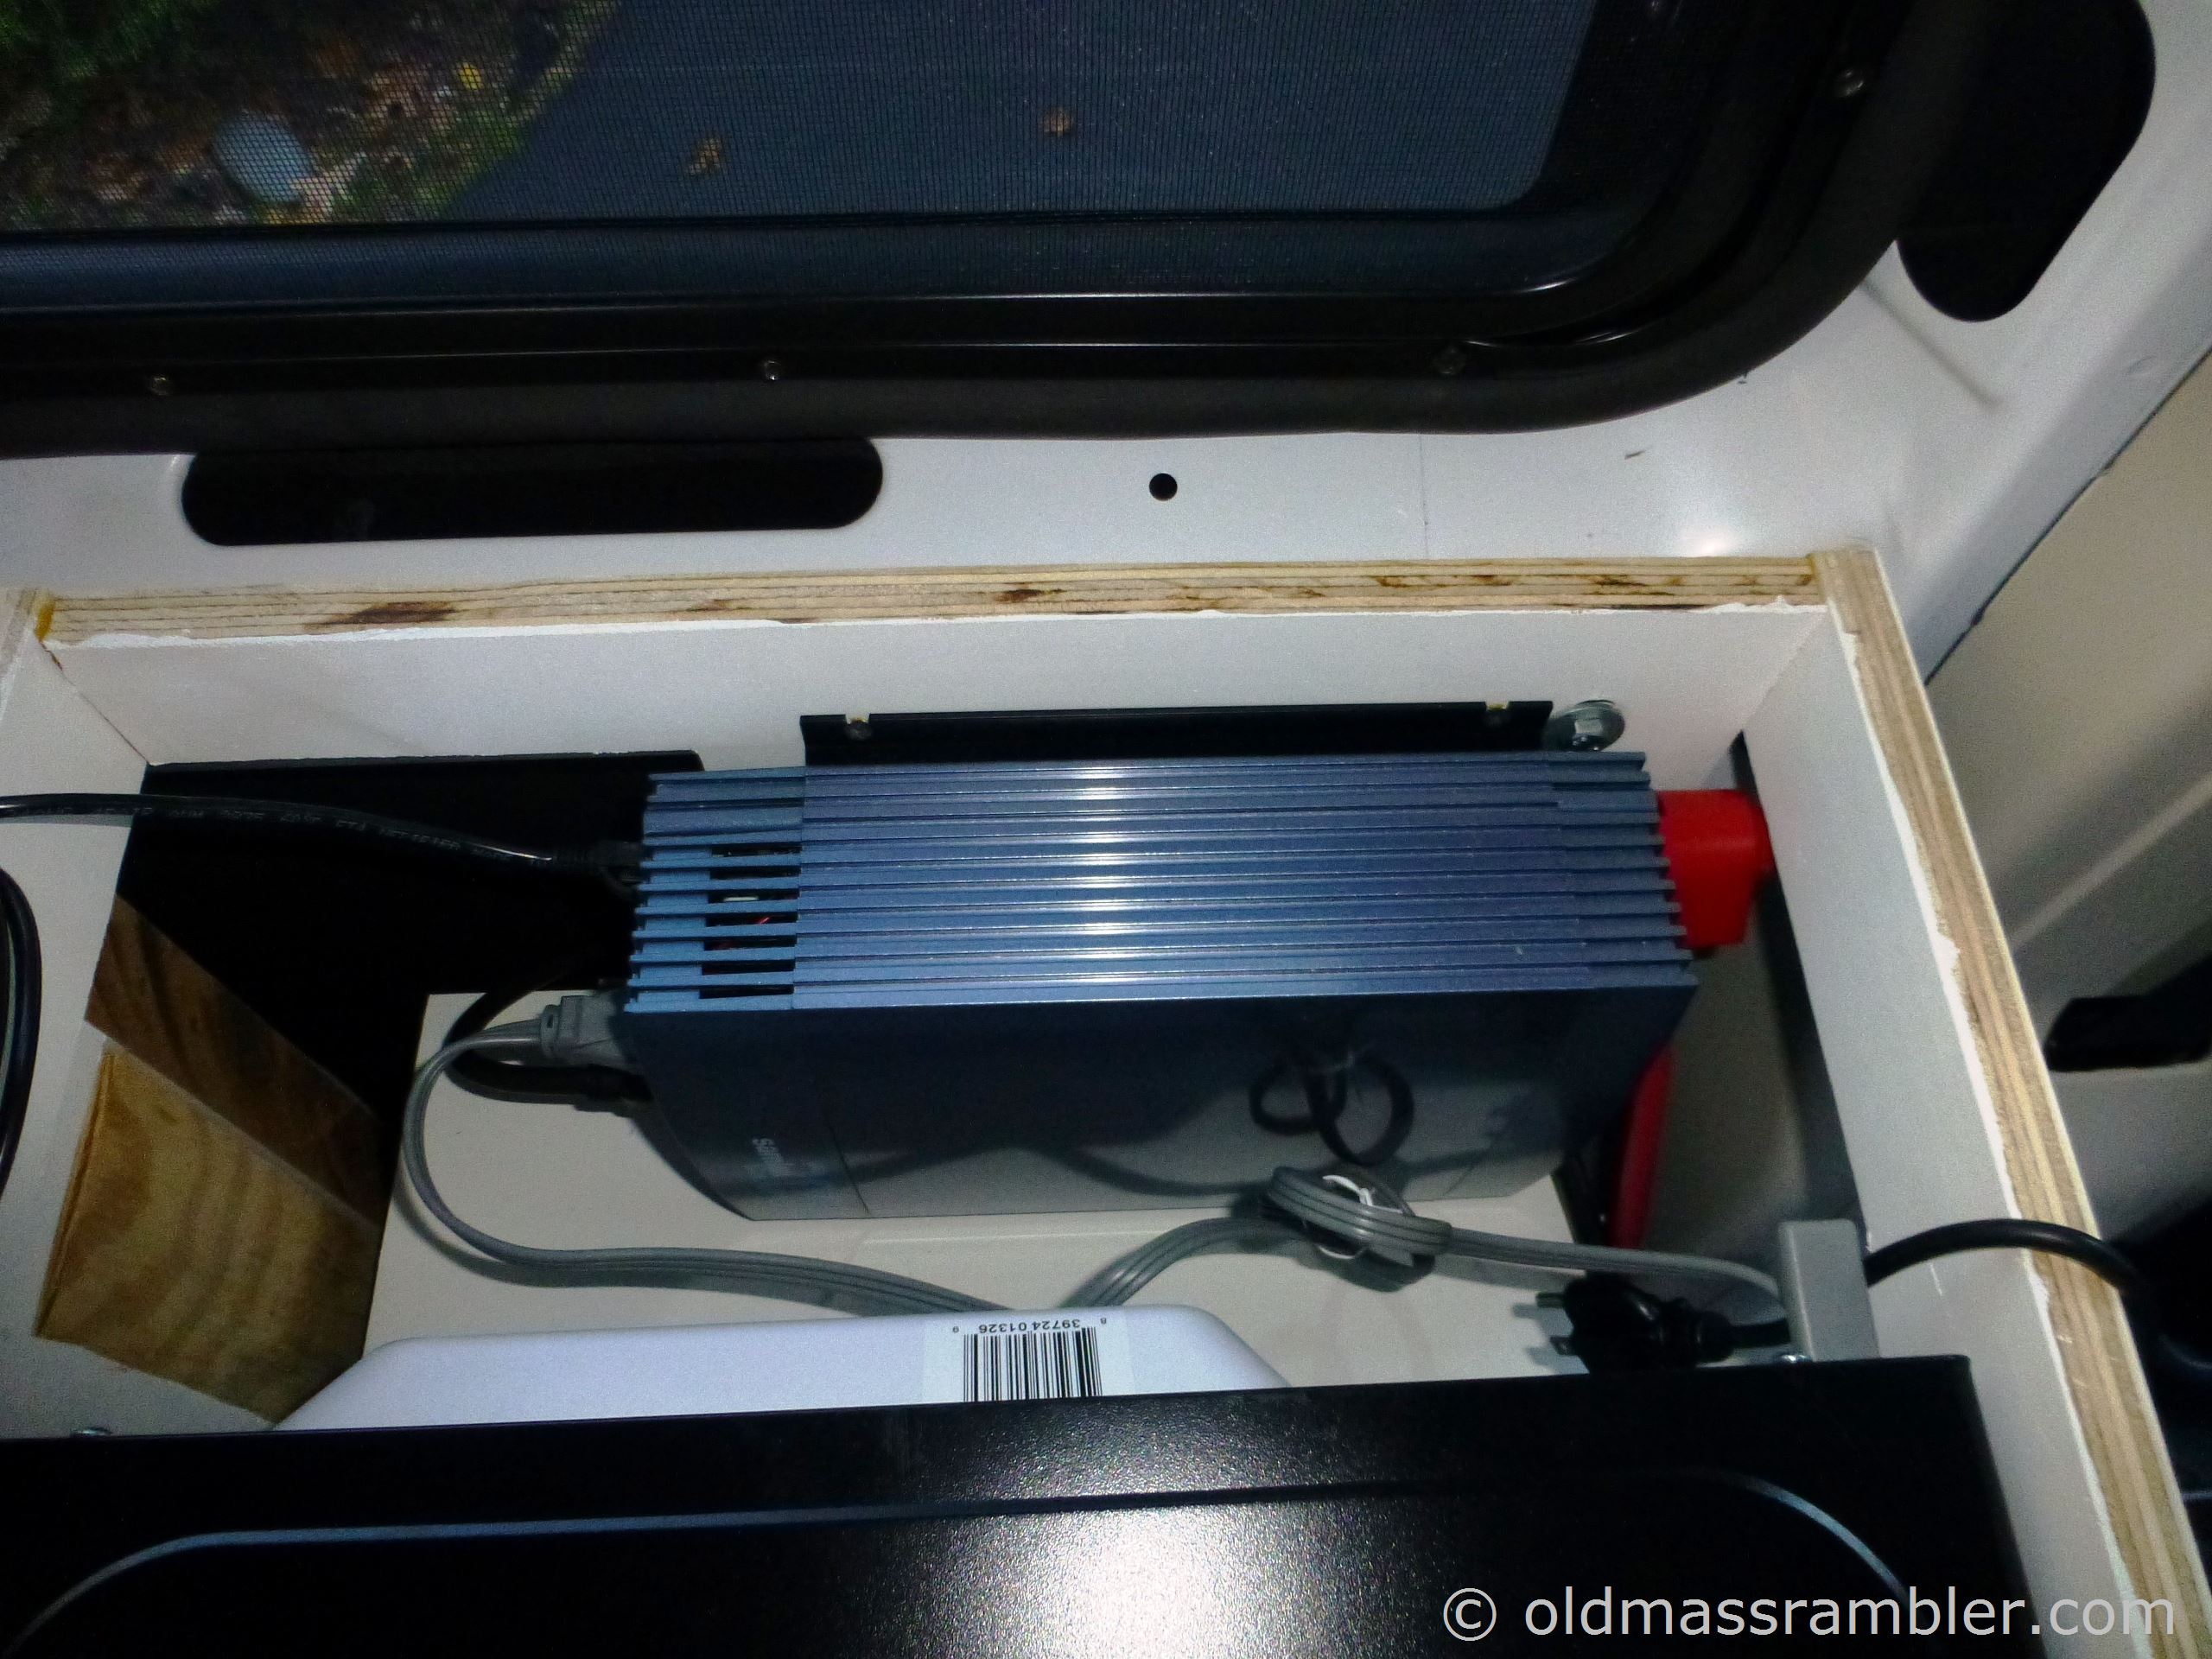
The inverter I used is a Samlex SSW-2000. I think I only needed to use the SSW-1500 but I got a really good deal on the 2000. The Xantrex unit was my first choice based on reviews but it was too big for the space I had left for it. I located it behind my microwave.
Reviews on the Samlex noted that the fan runs with even the slightest load and that it is noisy. Both of these things are true. It does come with a remote display and control panel which I could place in front.
With my 150 AH battery the microwave does not run well. The voltage slowly drops until the inverter gives a low voltage alarm. When the van is running it works without any issues.
The inverter is pure sine wave unit. I had used a small modified sine wave unit for years to charge my laptop. I went for the pure sine wave unit because a number of people noted that microwaves are less tolerant of the modified sine wave.

Battery Charger
There are many different chargers some of which were much less expensive than this one. I wanted one that I could permanently attach and would automatically charge with the correct profile and amperage for and AGM battery I had selected. The Cotek CX 1225 was the one I chose.
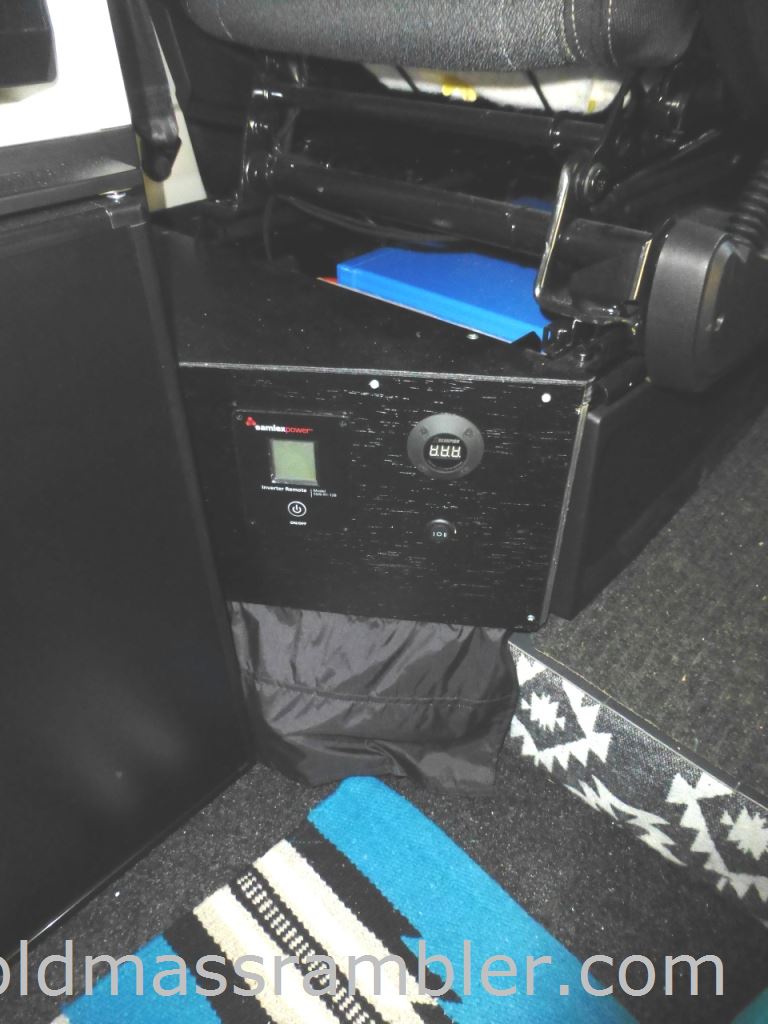
Electrical Panel
With the fuse panel and the battery charger mounted behind the drivers seat base I enclosed the area and added a panel for the inverter display, volt meter and a switch to allow me to check the voltage on the van and the house battery.
The two separate power strips, one form the inverter and one from shore power, are stashed below the panel.
Shore Power
Our original plan was to drop an extension cord out the back door on those rare instances we might be near and outlet.
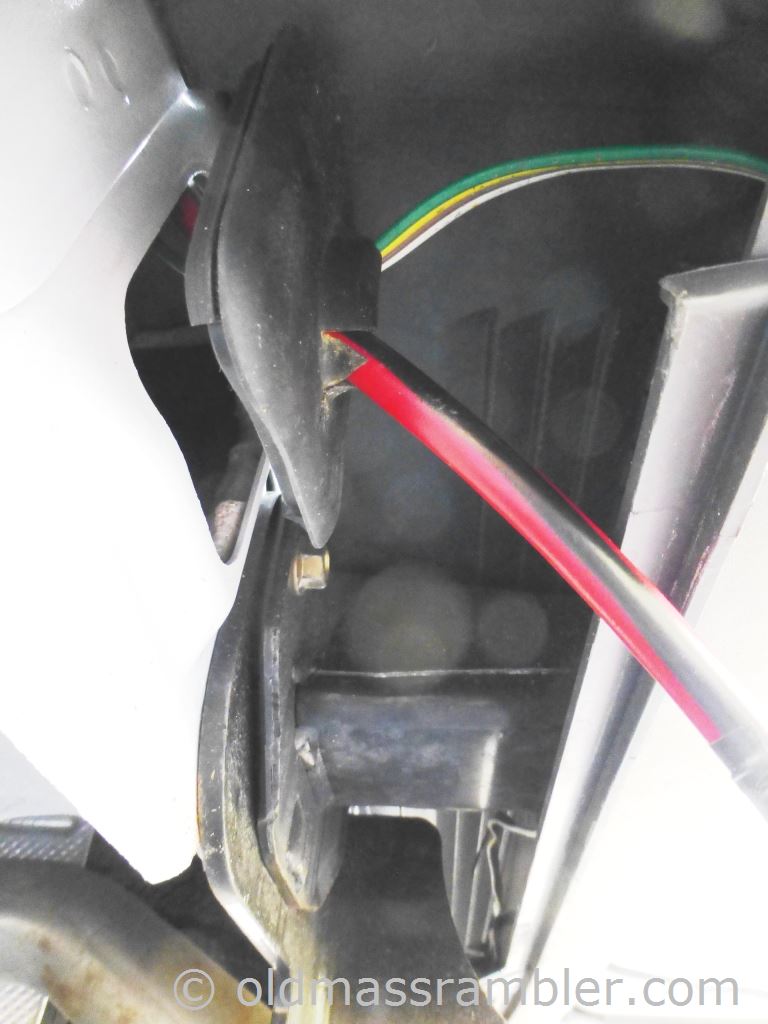
It turns out more camp sites have electrical power than we had first thought. I ordered a Marinco shore power plug and installed it in the bumper. I choose the bumper rather than the side so that if I forgot that I was connected and drove away, I would just loose an extension cord rather than possibly rip a hole in the side of my van.
I drilled a 1 7/8" hole though the bumper. I used 14 ga, 3 wire outdoor extension cord, cut off the end and ran it thru the plastic opening in the back drivers corner of the van. Blog post on this is here.
Next up: Plumbing