Sound Deadening
When you buy one of these vans its a big echo chamber that lets you hear ALL the road noise
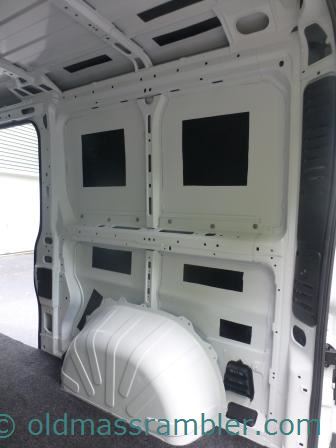
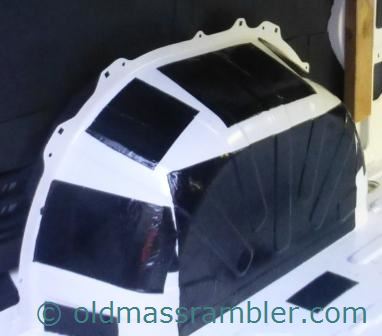
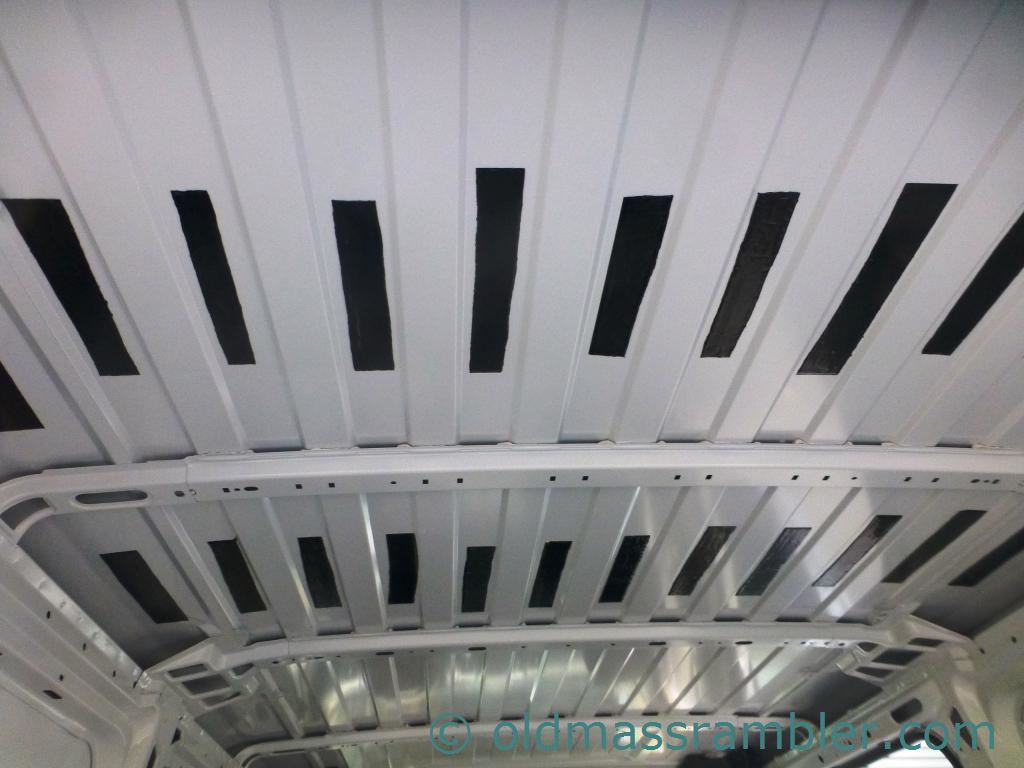
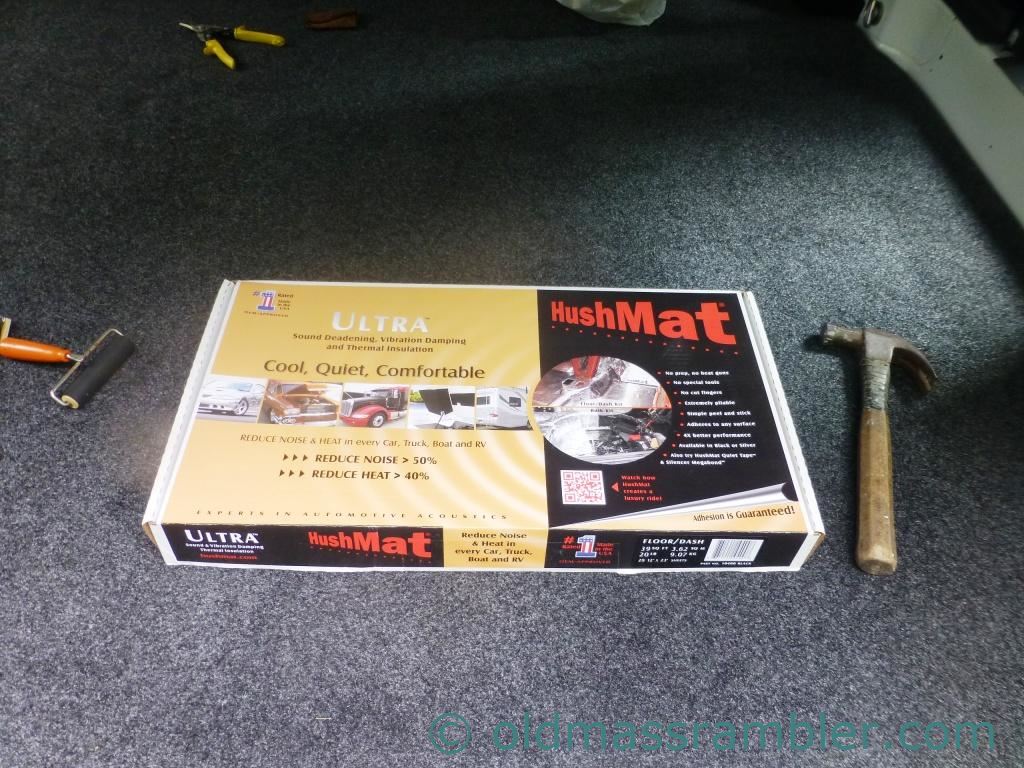
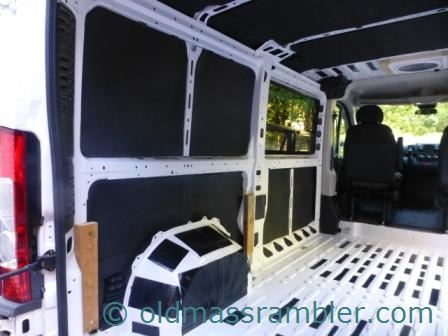
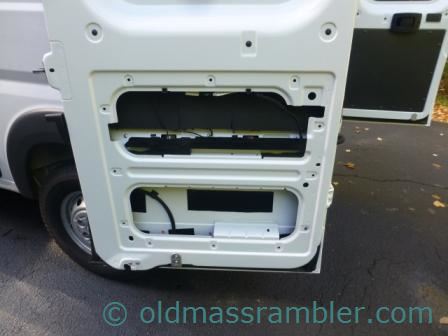
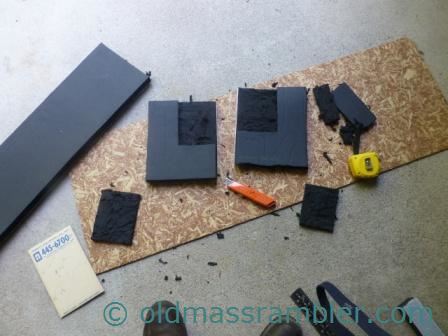
There have some discussion about whether or not sound deadening is really required if you are insualting. It seems that what I would need this for was to dampen that drumming sound from large pieces of sheet metal and the wheel wells. I opted to cover about 25% of most areas. I used Hushmat 10400.
Adding the sound deadening to the larger sections of sheet metal and the wheel wells made a huge difference in sound.
Two things I would do differently now
1. Cover the entire wheel well. The wheel wells are noisy. Partial coverage helps and I did more than the 25%. I wish I had done 100%.
2. Cover the entire floor with some type of a paint on bed liner such as Herculiner rather than deadening strips. Besides providing dampening it would protect the entire floor from moisture.
Floor
There are a number of people who have built up the floor so that they can have a good base of insulation or storage or both. Since we have the low roof version, building a floor with insulation, supports and then a plywood top was not really an option. My wife at 5'2" can comfortably stand up inside, at nearly 5'10" I already need to duck a small amount.
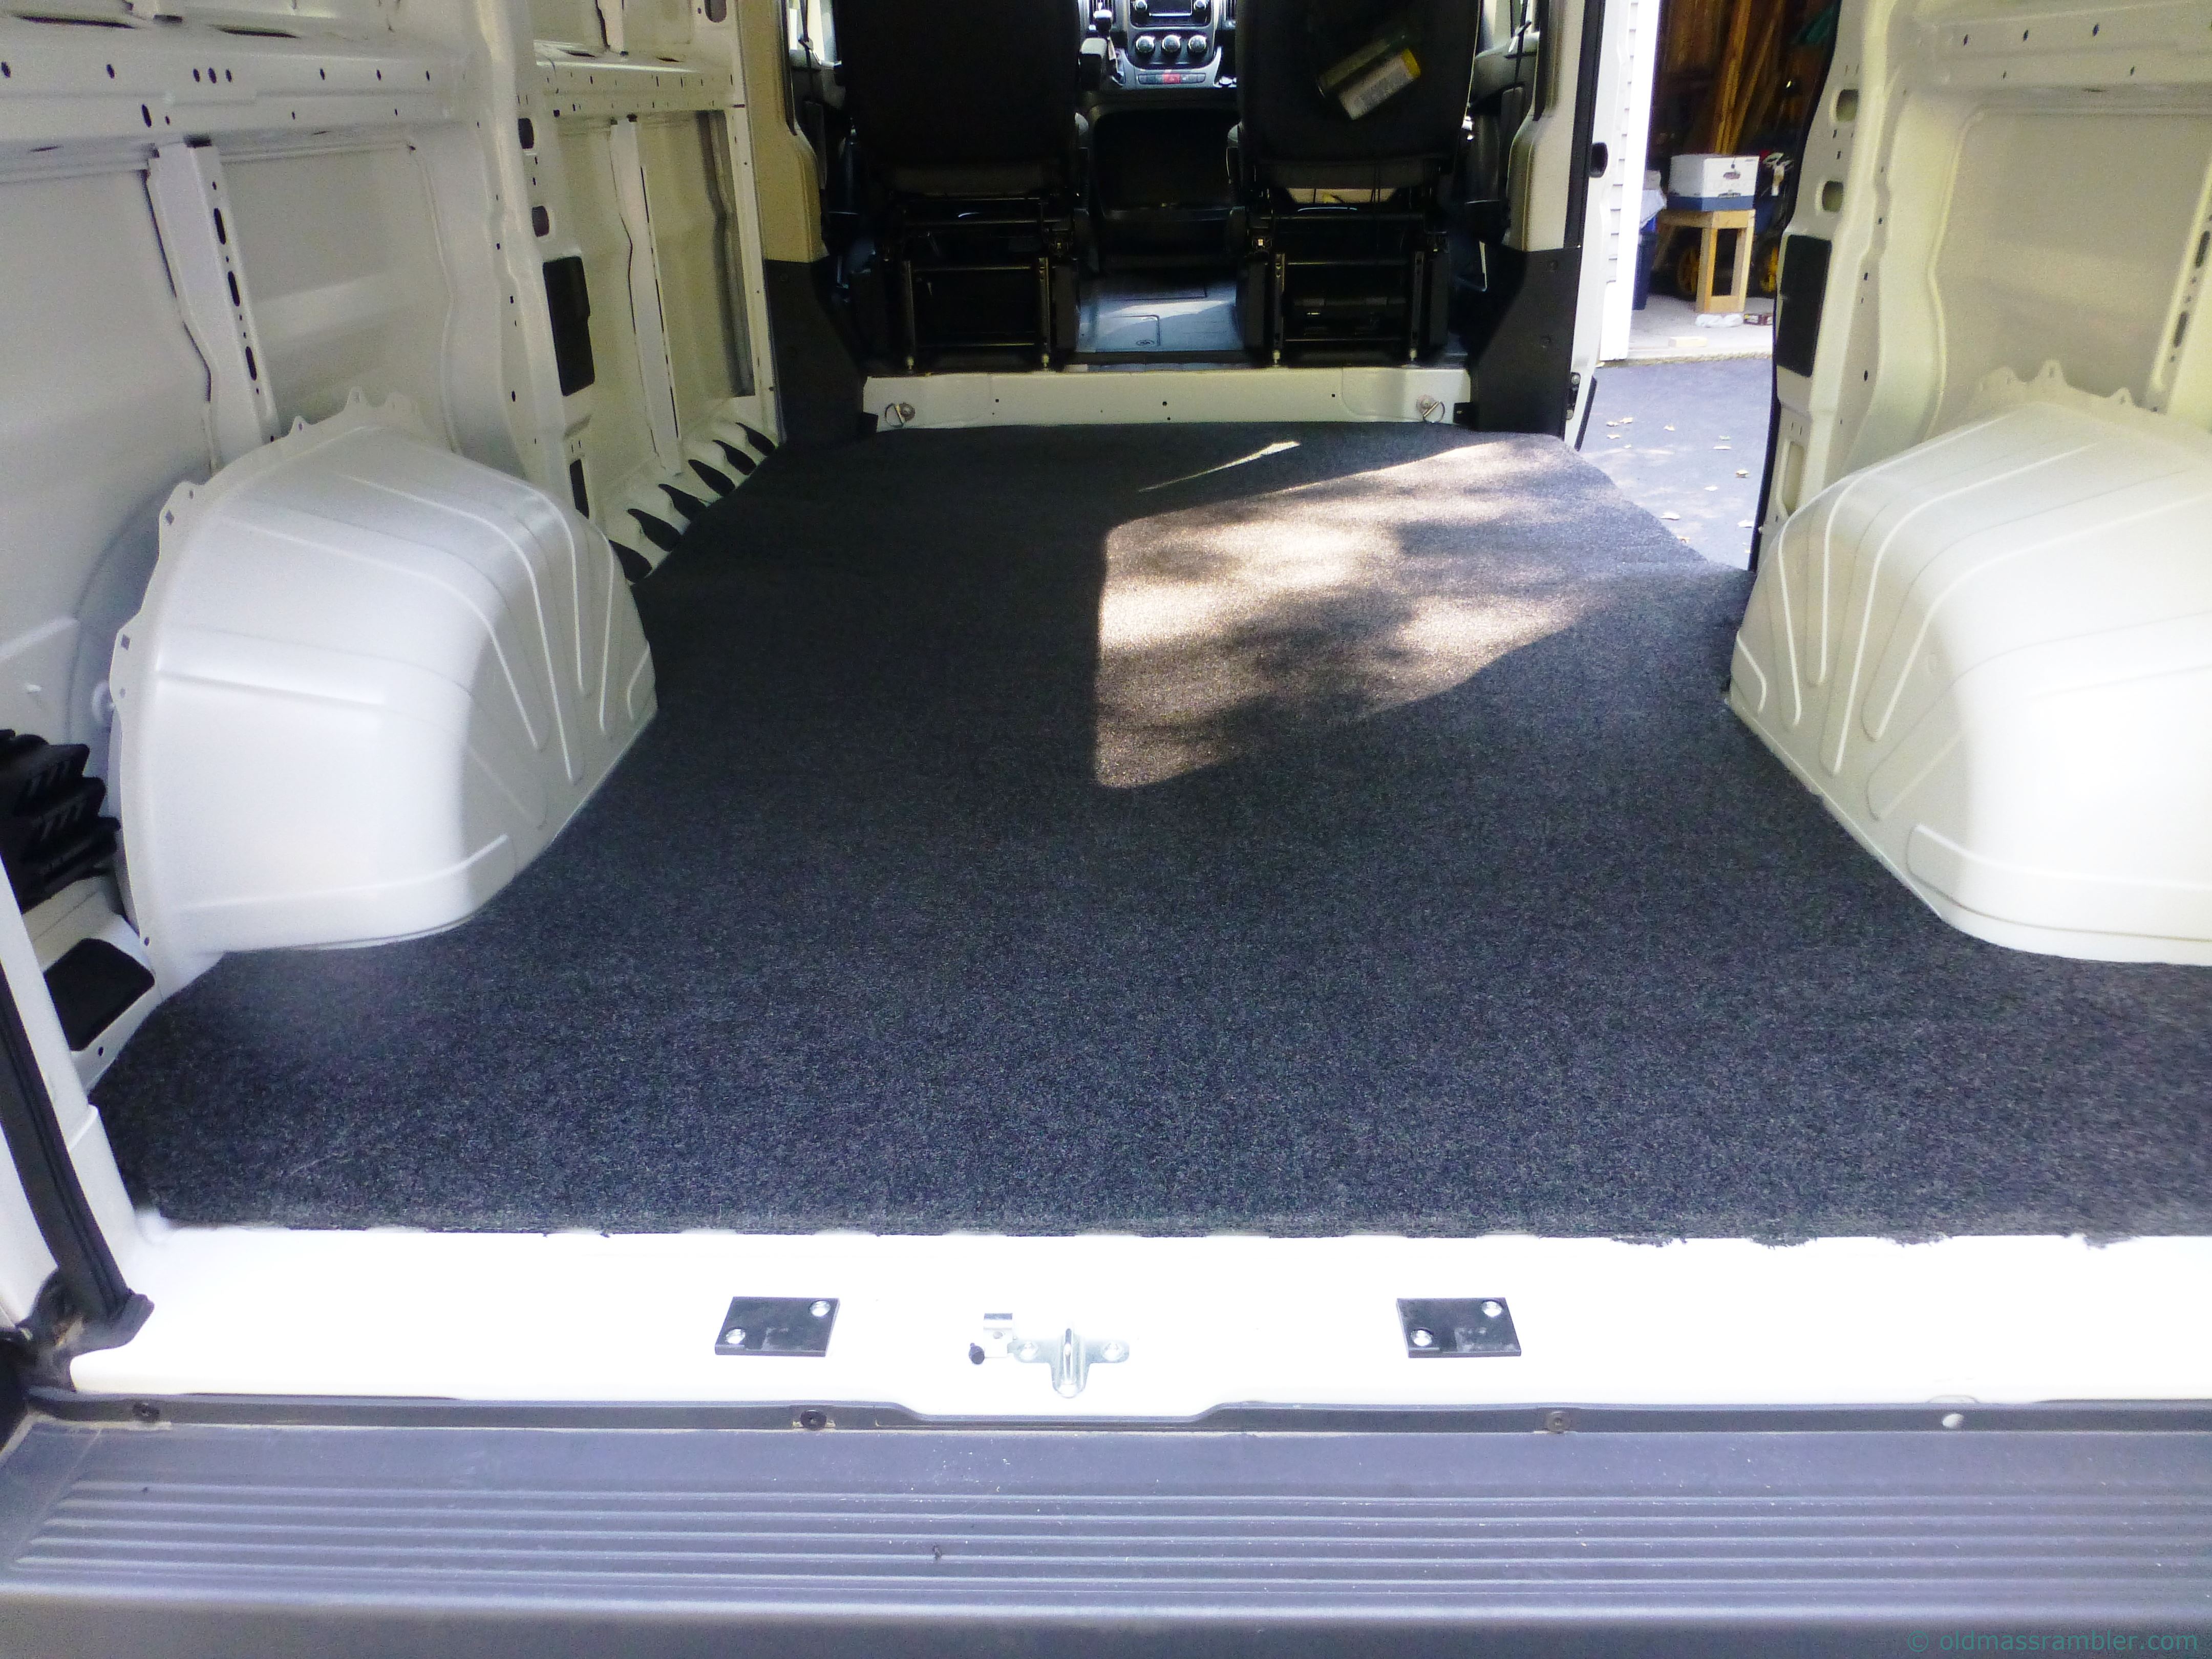
We purchased a VanRug for about $200 that fit the floor exactly. Installation did not take long. The only difficulty was getting under the plastic pieces by the drivers and passenger chairs. I removed the screws but initially could not get those pieces off. Putting the screws back on was difficult because those pieces now rested on the rug and holes did not quite line up.
Insulation
Coming from a tent I wondered, "Do I really need insulation?" One overnight sleeping in our van produced condensation on many metal surfaces. I needed insulation.
Searching the internet I found several options: Sprayfoam, insulating boards and batt insulation. Spray foam seemed messy and I really did not want to wear a respirator and a onesie to do it. Insulating boards are usually held on by spray foam which also sounded like it would be a mess. And batt insulation which does not resist moisture.
In the end I opted for a closed foam insulation that I am familiar with from refrigeration and HVAC work. It has an R-value of about 4 for 1" and a high resistance to moisture. I looked at 3' x 4' sheets by Armacell and by K-Flex. I had thought one with pre-applied pressure sensitive glue would make it easier to install. I also purchased contact glue as well in case I needed it.
I had thought, "What could be easier, peel the backs off the sheets and stick em on - done!" The reality of installing these sheets was much more difficult than I thought. There are odd shapes and supports that interfere with getting the sheets in just the right spot. I was constantly trimming pieces to size and at times reducing thickness to get it into some spots. Pulling that backing of was also a challenge after getting the insulation into position.
There were places like in the doors where I could get it into place but could not get the sticky back off. Some spots I scored the back and just stuck the ends to the metal. Other places were so difficult to get in I never even tried to get the backing off.
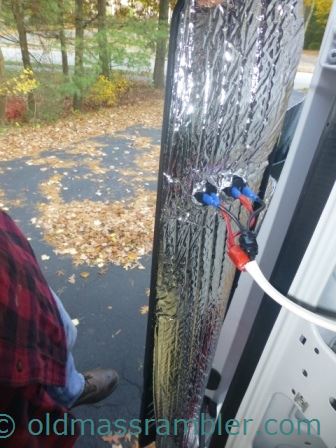
As for the ribs at the top? I filled them a layer of Reflectix and covered then with a kflex insulating tape.
Some other trouble spots were the top at the back and the back corners. Both received a layer of Refletics. Unused holes were covered with aluminum tape.
In retrospect, I think buying the insulation without pre-applied glue might be easier. Then I would just apply glue as I go. Also I would look at getting some 1/2 insulation as well to use in tight spots.
Or maybe I might just go for that onesie and industrial size canisters of expanding foam.
Walls and Ceiling
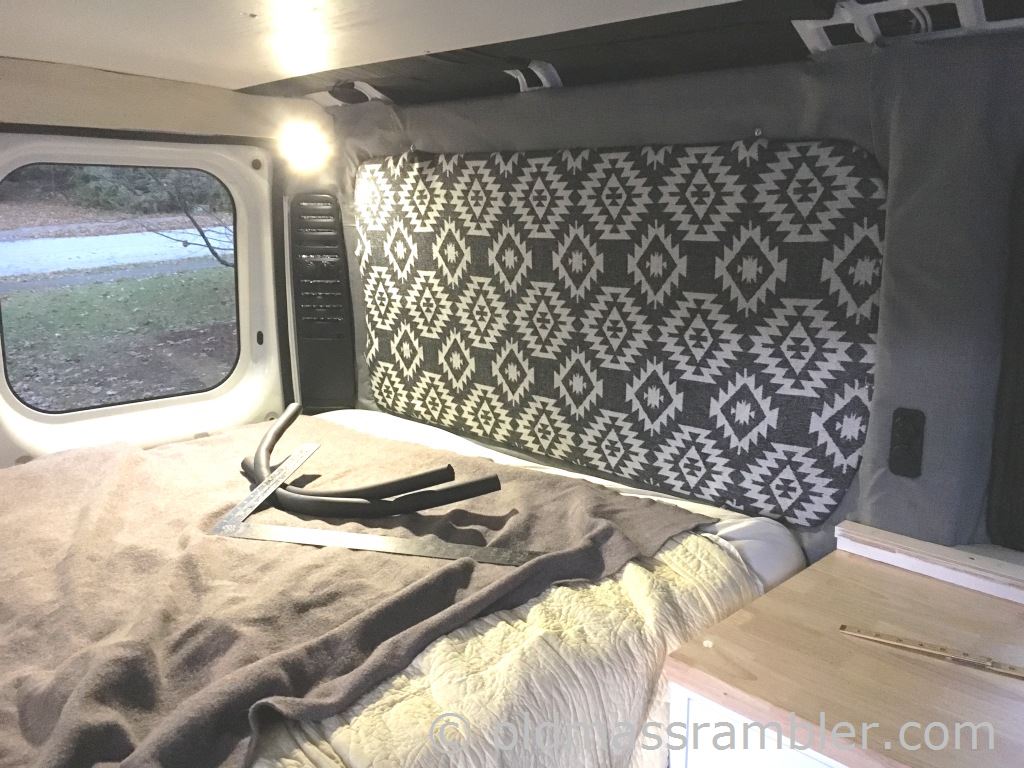
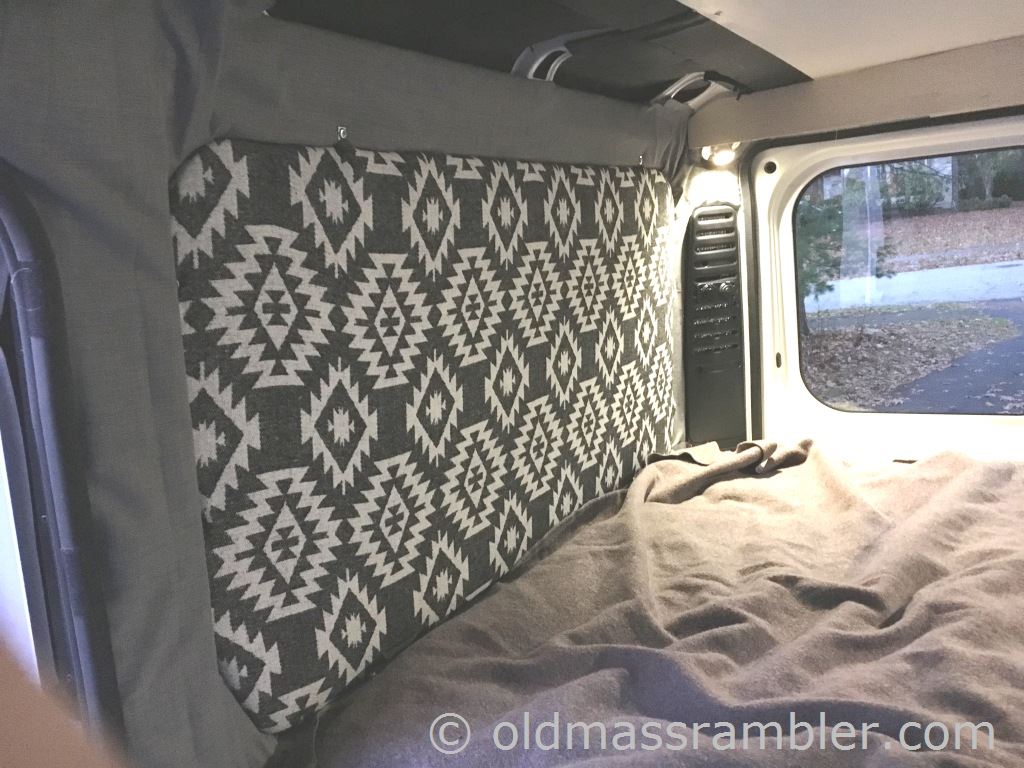
For the headboards of the bed area I cut cardboard templates to fit each side. I then cut 1/2 plywood and used L brackets with self drilling tapping screws to install. We covered the wood with quilt batting and heavy fabric from Joanne Fabrics.
For metal wall area we used the insulation tape to cover it and then covered with fabric attached with Velcro stuck to the metal and sewn to the fabric.
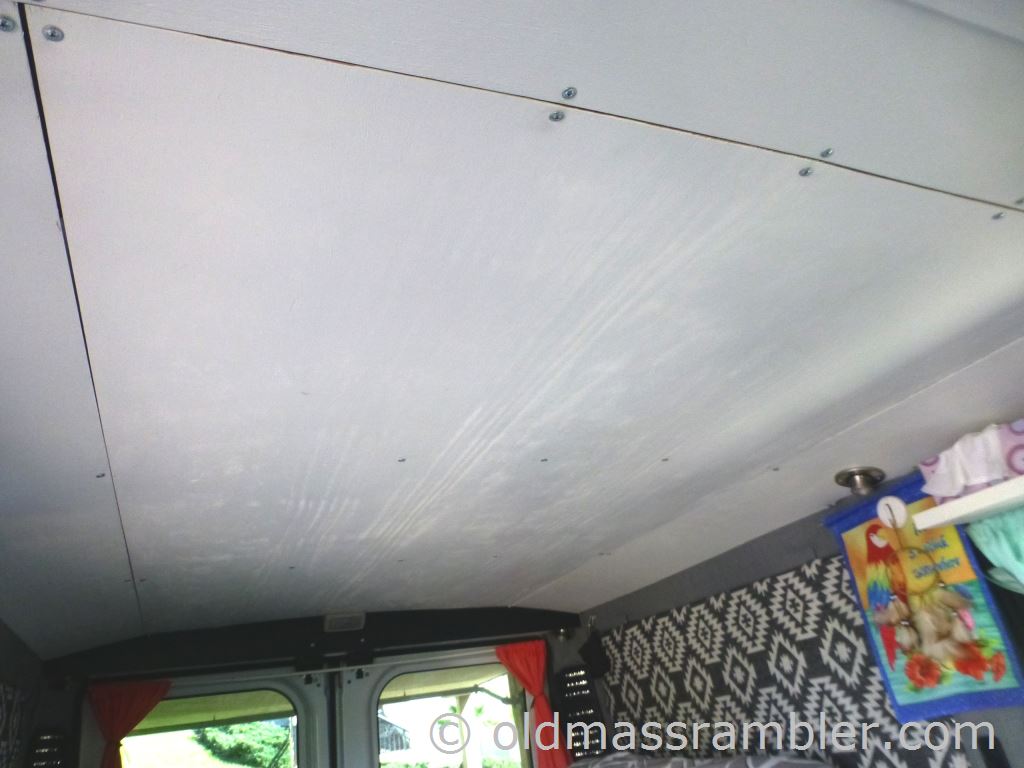
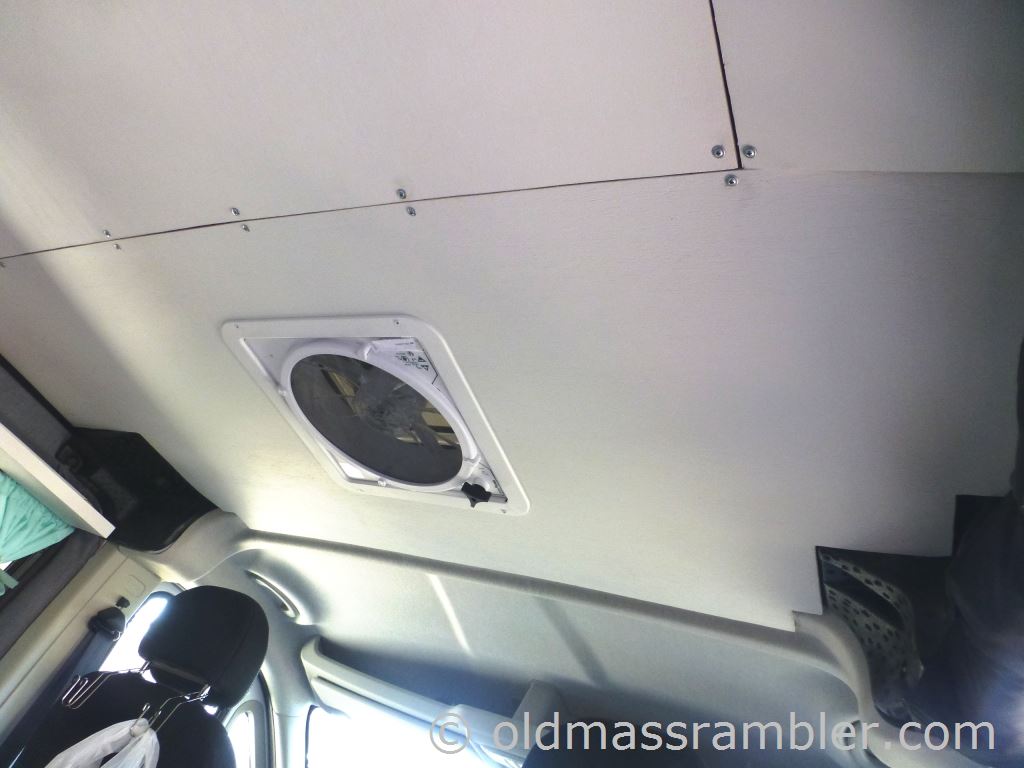
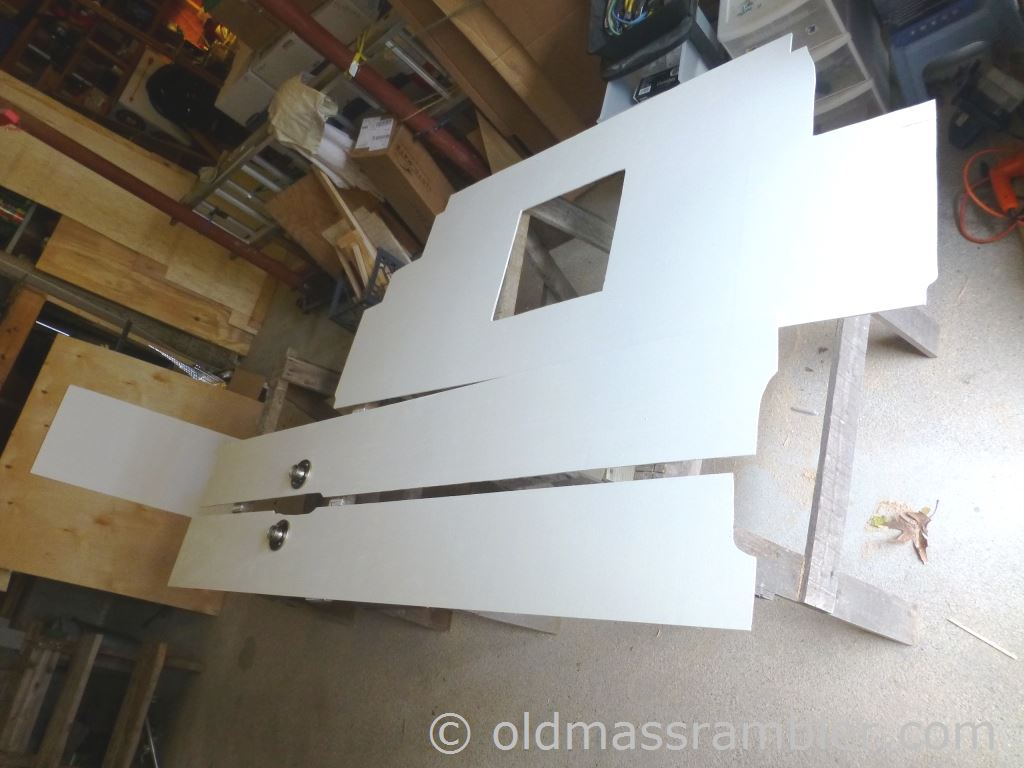
The ceiling is 1/4" plywood screwed in with self drilling and tapping screws. The screws are shorter than the depth of the rib so I would not accidentally put a hole in the roof. I built a box at the back attached to the rear bulkhead to hold that end of the ceiling up.
After I installed everything, I backed out each screws, added a few drops of Loctite and reinstalled them. My question and the answers about attaching the ceiling can be found here.
Up next - the Kitchen.
