Awning 1.0
We looked at getting and awning and there are some interesting options but they were all more expensive than we wanted to pay. The one from Fiamma was over $1,000 and RV dealers quoted much more than that
There are some interesting bag options that would have required a set of roof racks. We did not want to add the additional 7″ to the height of van that the roof racks would add and we also were hoping for a lower cost option.
The Promaster has roof rack mount studs on top. These were a perfect spot to loop a section of rope. 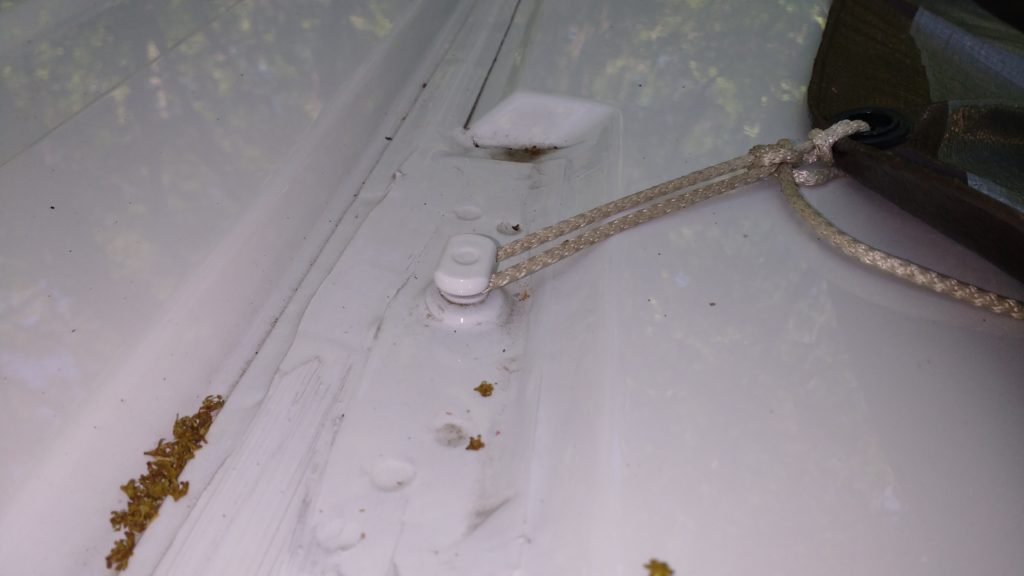
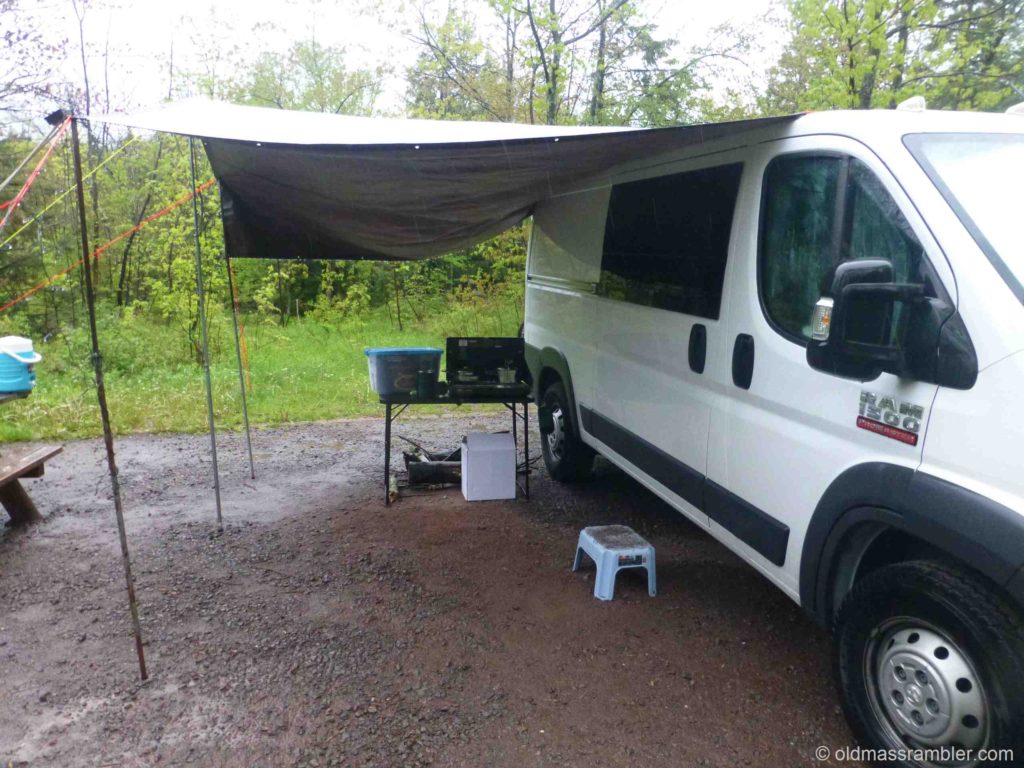
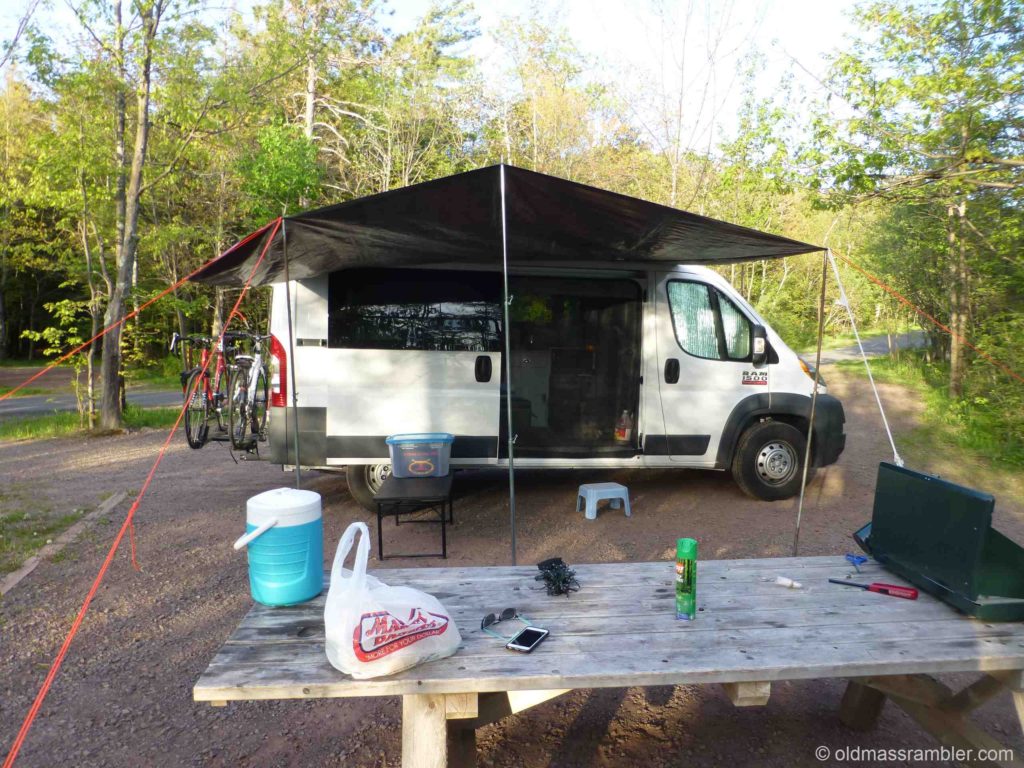
We saved an 8×12 tarp from our old house and two of those extending camp poles. We bought some rope and a third pole from Walmart. On our first try we ties one corner over the van through the drivers door to the steering wheel. After two days of rain, enough water was wicked in on the rope to drench the drivers side rug. We staked that line out for a while and then added a clip so it would attach to one of the holes in the weheel rim..
Total cost to us was about $15.
Awning 2.0 – Thule
Setting up the tarp is not that difficult but there are times we just did not do it. We would sit in the sun or a slight drizzle and envy the people who could roll in, stop, press a button and have shade or shelter from the rain. Yes, we had awning envy.
For Awning 2.0, we chose the rack-mounted Thule Hideaway Awning from Amazon for $648. The Thule rack was too expensive and they wanted you to mount it on top of the rack. I chose the AA Rack available from Walmart for $179. The taller AA Rack allowed me to mount the awning to the bottom of the rack so there would be less space between the awning and the top of the van.
A decision made a couple of years ago became the only hitch on this set up. The roof vent was about a 1/2″ too far forward for me to install a front rack. When we had the roof fan installed we did not think we would want to have roof racks.
The two rack are installed on the back and center mount points.
 For the front I ordered another set of the awning brackets at $79. I also ordered the unique Promaster roof mount bracket for $31. I bought a 4′ angle aluminum from Ace Hardware and was able to make a bracket that connected the front of the awning to the van front roof mount. Ace cut the section I needed to length for no additional charge. Our tool kit is limited but I do carry a drill and was able to make the holes.
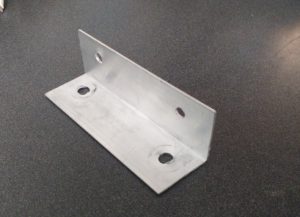
I went too cheap on the first bracket using the 1/16″ stock. Remaking the brackets with 1/8″ stock made it much sturdier.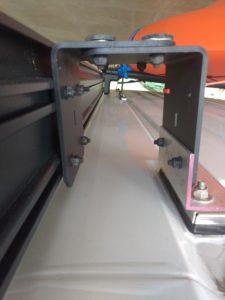
Installing the awning on top of the rack would have been easy – place it on and then attach all of the hardware. Attaching it underneath meant getting the hardware on, picking it up and then sliding it on to the rack. I attached the brackets and then used duct tape to keep the two sides of the bracket separated while sliding it on to the rack.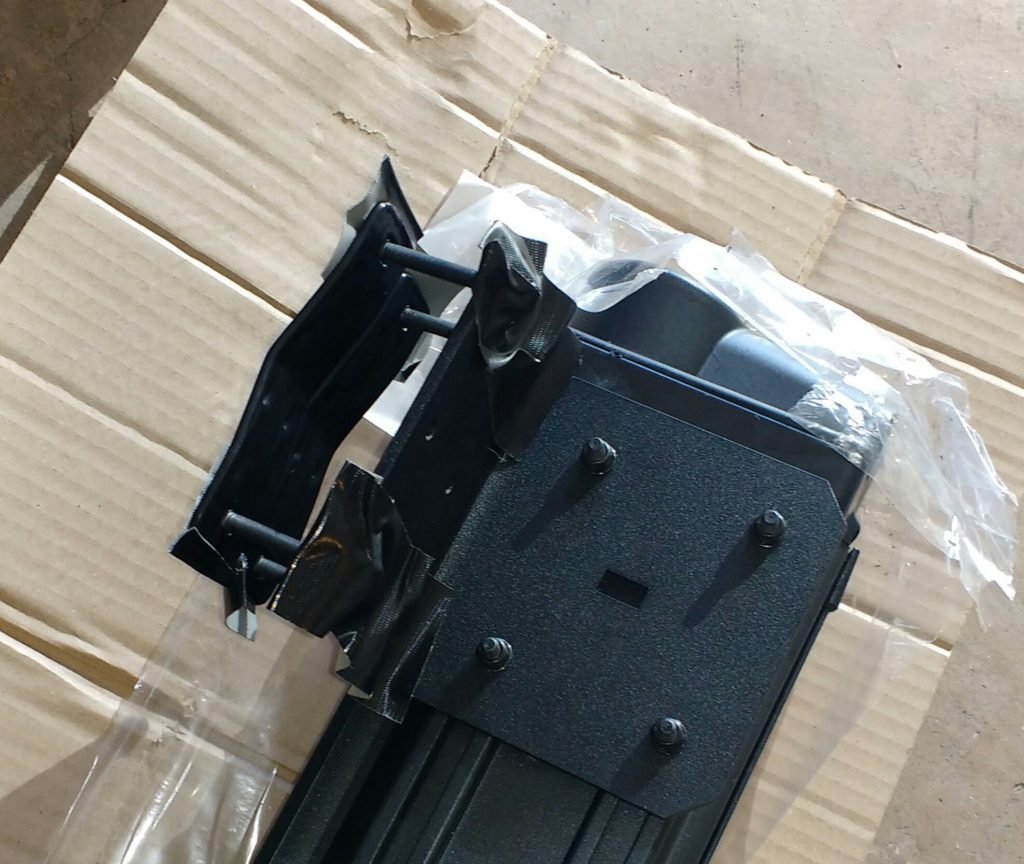
After it was on. I tightened everything up. I added a couple of sticky reflectors near the spot that the crank arm attaches to minimize any scratched from the crank on the van.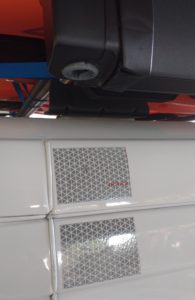
Grand total cost was $1,027.
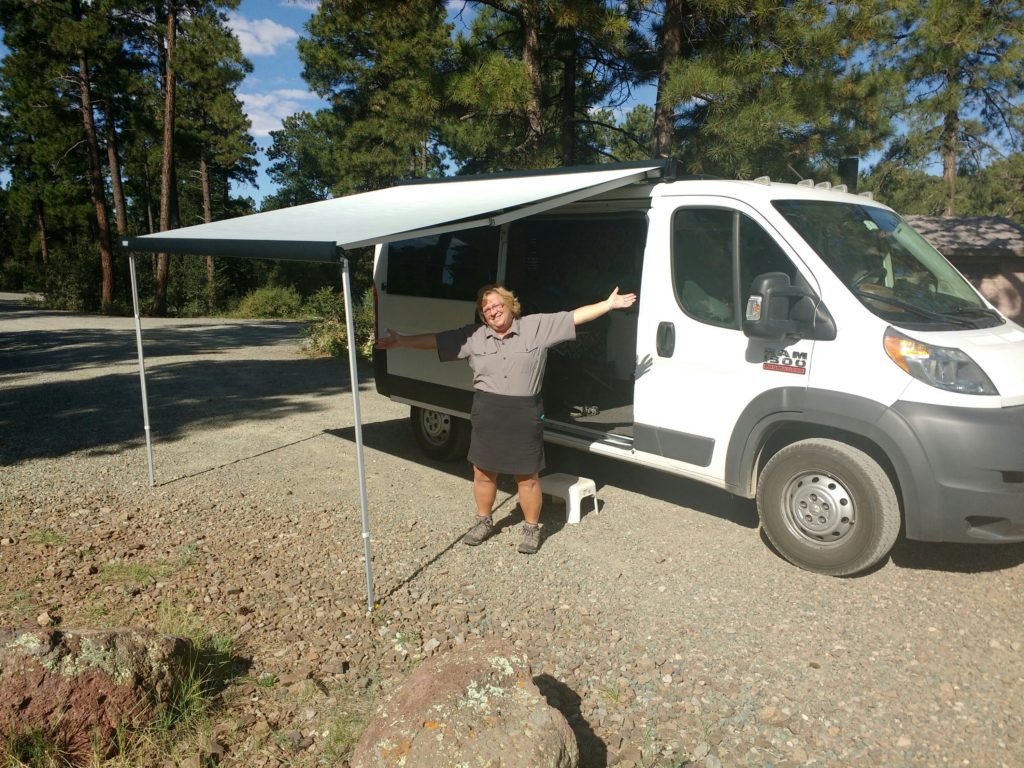
We now enjoy shade or shelter from rain with just a few turns of the crank anytime we want.