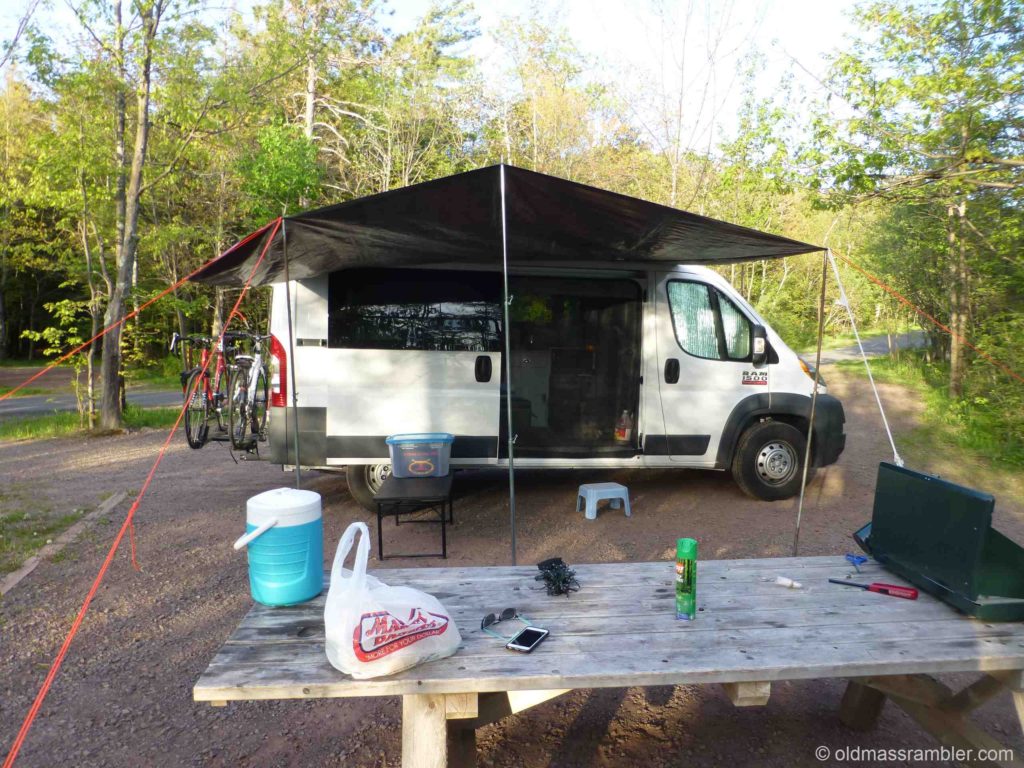
When we started we were not certain we needed an awning and the ones we looked at were expensive. Something more affordable that we would set up only if we needed it seemed appropriate. Awning 1.0 was born.

A big tarp that we already owned, some camp poles, rope and plastic stakes. Its not a pretty setup but it worked. And we found that having shade or an escape from rain was at times indispensable.
However setting up meant digging the tarp out of our under bed storage, climbing up to the roof to hook the rope loops on to the rack mounts, running lines and driving stakes into the ground. There were times when there was a bit too much sun or it was drizzling just enough to be uncomfortable yet not enough for Mr Ram to go through the effort of setting up our tarp. We would sit and slowly roast or get damp watching someone else crank out their awning – or worse, push a button and their awning came out. Yes we had Awning Envy.
We thought an RV Place might have a small, budget awning they could install for a reasonable amount. Their estimated $1,600 for one that would require way to many screws into our poor van, Sparty.
The next possibility was an Italian Awning from Fiamma. It was expensive at about $1,300 including hardware but it was custom made to use the roof mounting points on the Promaster. Actually the website said that it mounts on the high-roof Promaster. I emailed to inquire if it could be used on the low roof van. Since this was their product I expected a definitive answer such as, “Well yes. Just use out very expensive bracket #8 and it will work fine.” or “No. Nobody with a low-roof model ever wants an awning.” Instead Patti Lynch of Fiamma responded, “I am not really sure. Maybe check with an RV dealer…” So much for understanding the products your company makes and sells.
After searching the web we found one person who had installed the awning on his low-roof van but it still did not work correctly.
We then considered the more affordable awnings that can attach to roof racks. There we some low-cost ones that had a storage bag and an awning that had to be unfolded. It solved the digging out the tarp problem but you still needed to get up to unfold the awning.
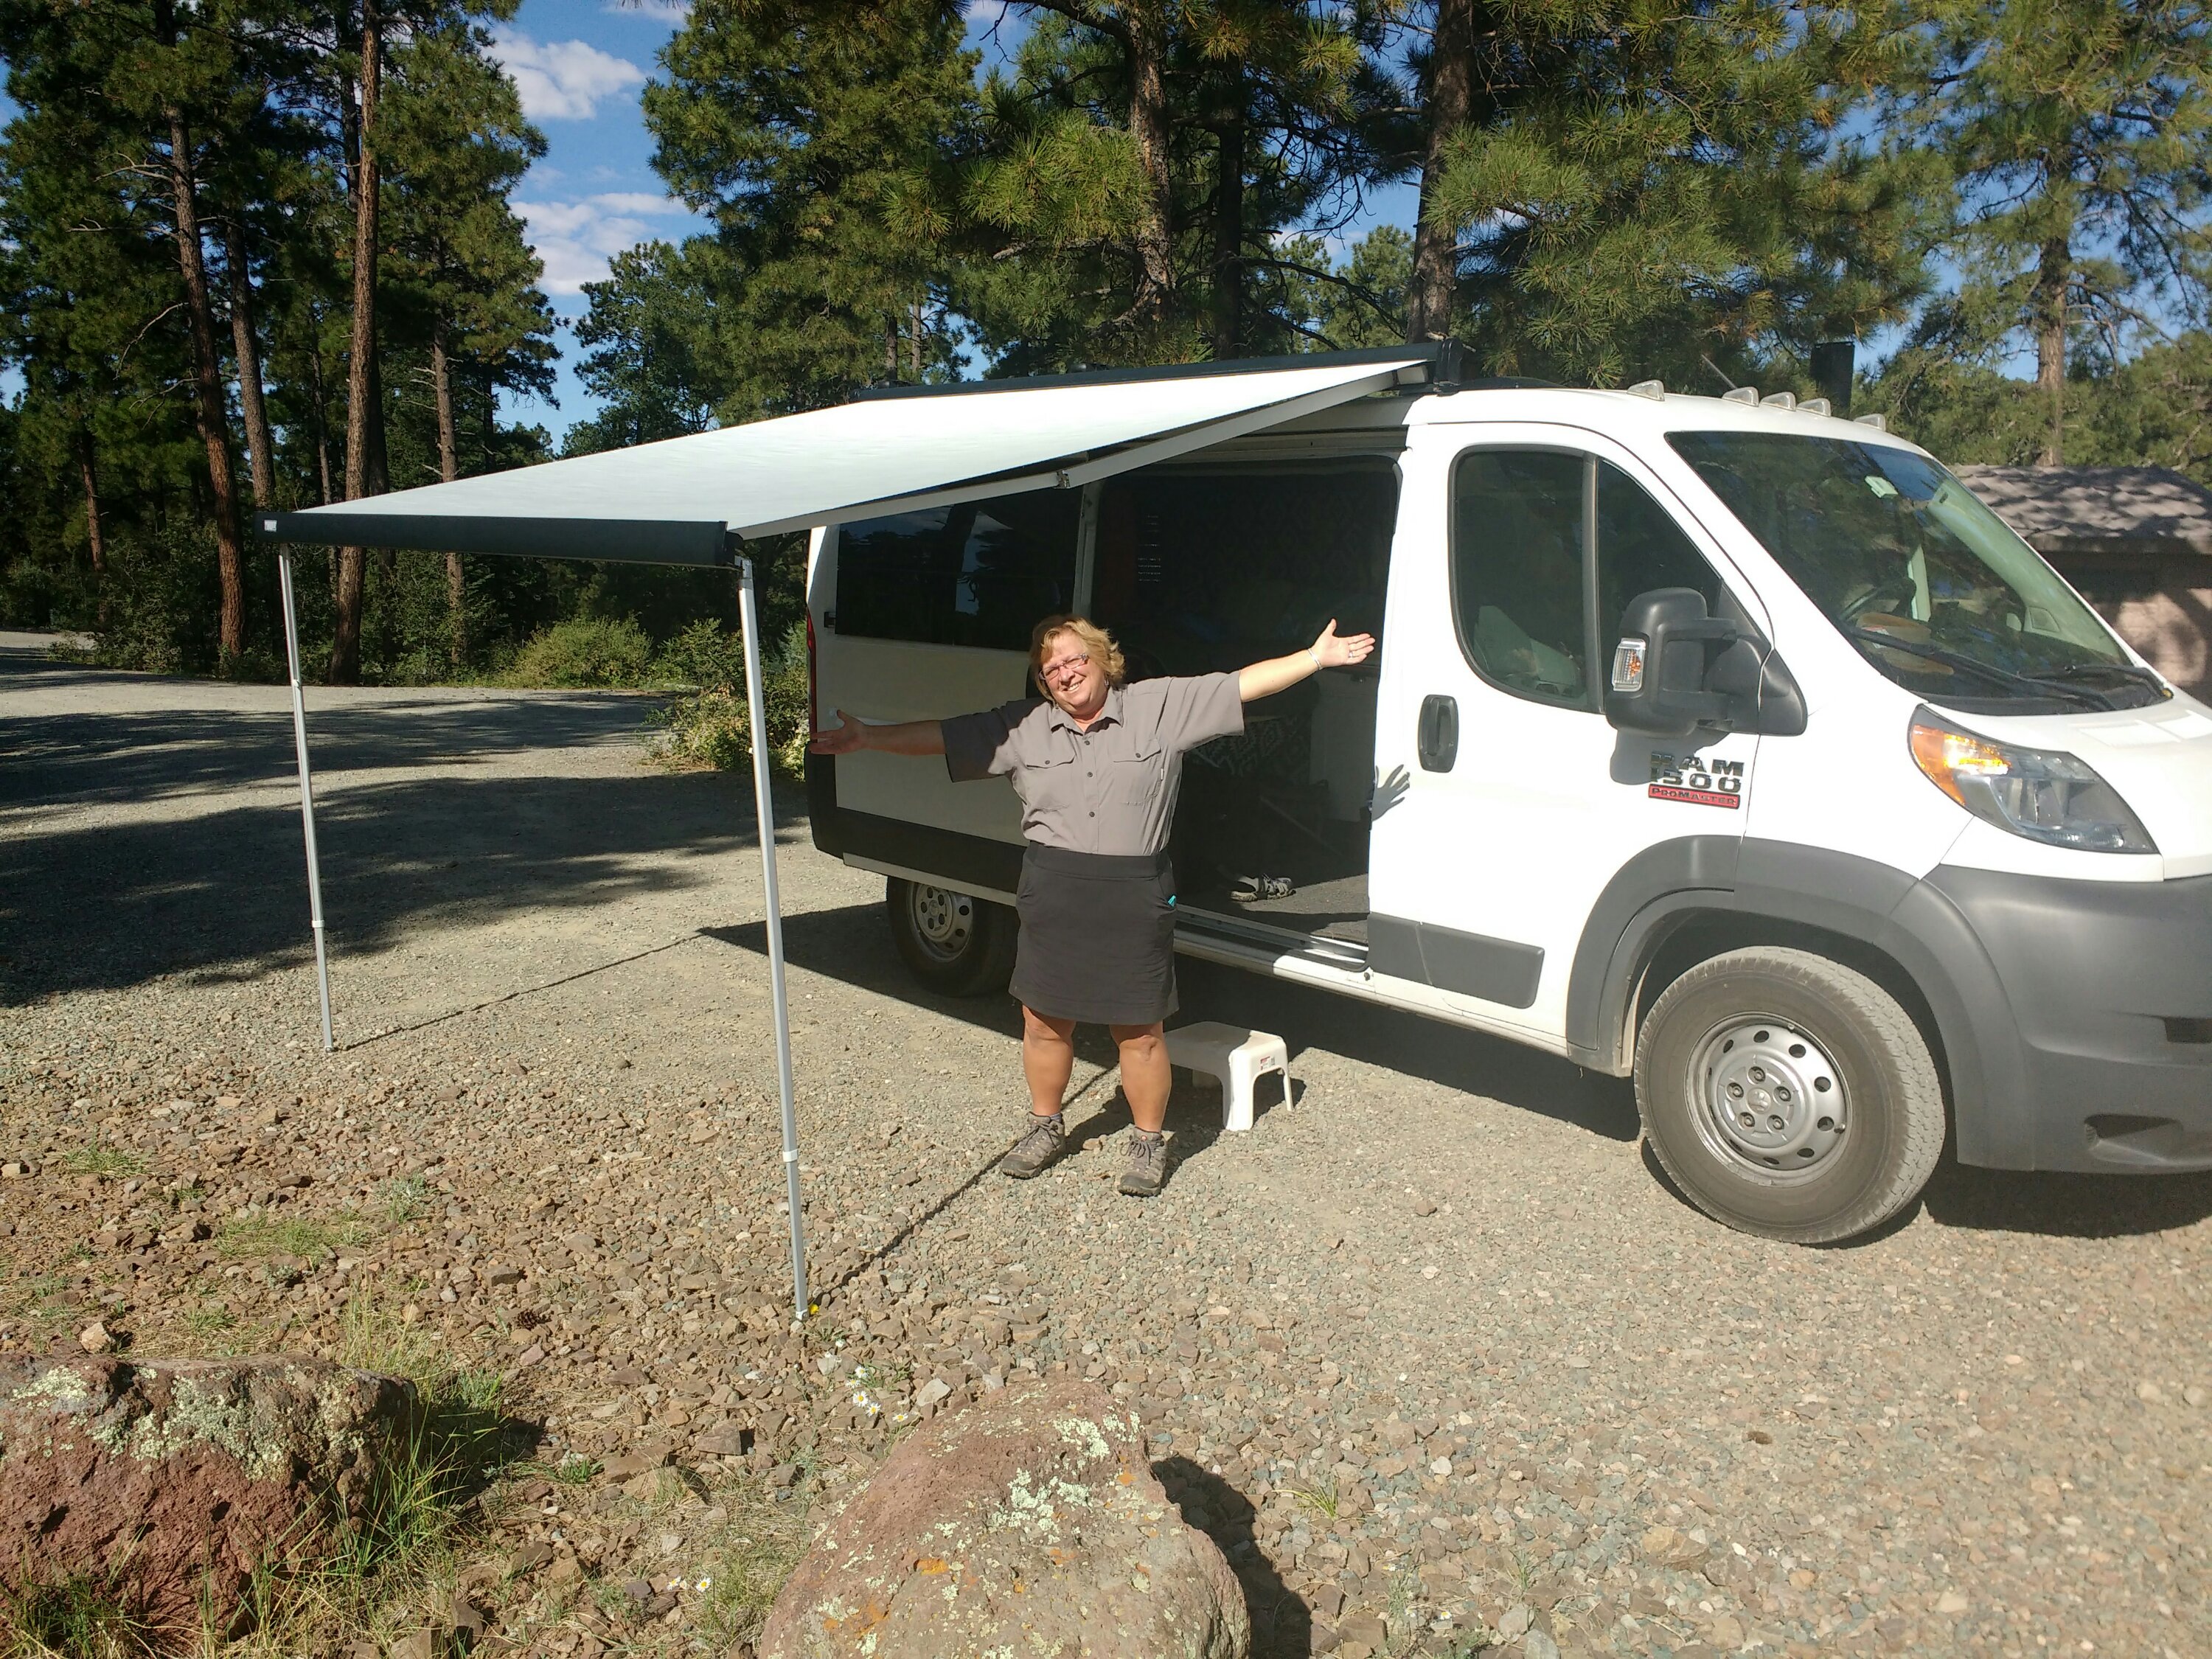
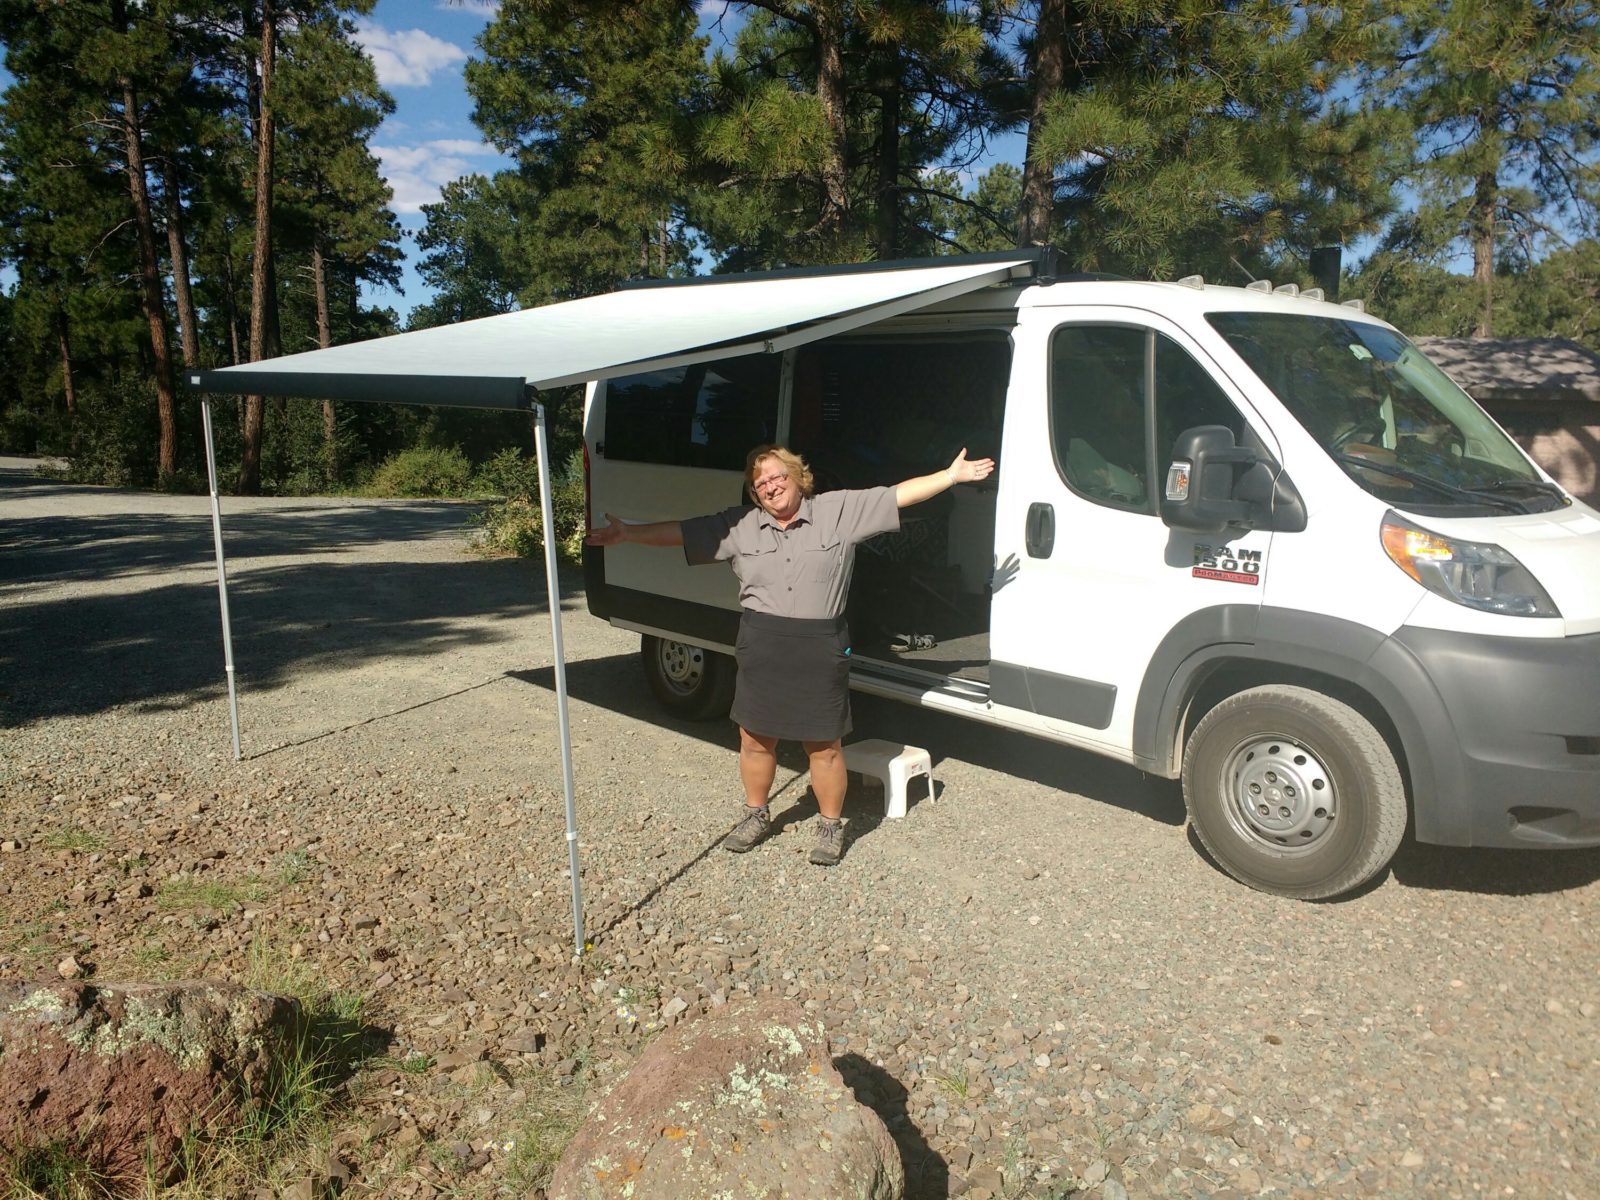
Mrs Ram found our solution at Thule. Their Thule Hideaway Awning from Amazon for $648 had a detachable crank arm that would let her open it up or close it whenever she wanted.
The Thule rack was expensive and required that the awning be installed on top of the rack. I settled on the taller and less expensive AA Rack AX302-PR available from Walmart for $179. The taller AA rack allowed me to mount the awning to the bottom of the rack. The only hitch on this set up was the roof vent. It was about a 1/2″ too far forward for me to install a front rack. A couple of extra brackets at $79 solved that problem and we now enjoy shade or shelter from rain with just a few turns of the crank.

Total cost was $1,027. For more details on Awning 2.0, check here.

Hey. Looks good. I am helping an artist prepare a low top promaster for events and shows. Getting answers from customer service folks seems impossible for this low top awning application. Can you relay the height of the awnings on the low side where the legs are positioned. He’s concerned about people bumping their heads. Much obliged, Brian
The set up we have with the Thule awning will allow you to have at least 5 feet, 10 inches clear (my height) with it open. As I recall, you set the legs for more clearance. I will check in the next few days what the maximum is.
Note that if you are installing a roof fan in the front, you will want to check the size and lcoation of the roof rack cross bar with the vent open. If the cross bar of our roof rack were not as wide or the fan was a 1/2 further away, I could have used a roof rack across the front rather the bracket set up to hold that end of the awning.